&w=3840&q=75)
Professionelle Profilbilder mit ChatGPT
Permanent werden mir irgendwelche Reels und TikToks angezeigt, in denen Leute ChatGPT-Prompts bzw. Shortcuts für das Bearbeiten von Bildern zeigen. Einige sind wirklich cool, und ich habe mir mal die Mühe gemacht, ein Paar davon mal auszuprobieren.
Es gibt unglaublich viele ChatGPT-Shortcuts zur Bildbearbeitung. Die Anwendung ist wirklich einfach: lediglich den Shortcut eingeben und das Bild dazu hochladen.
Es können auch mehrere Commands miteinander kombiniert werden, entweder in einem Prompt oder hintereinander.
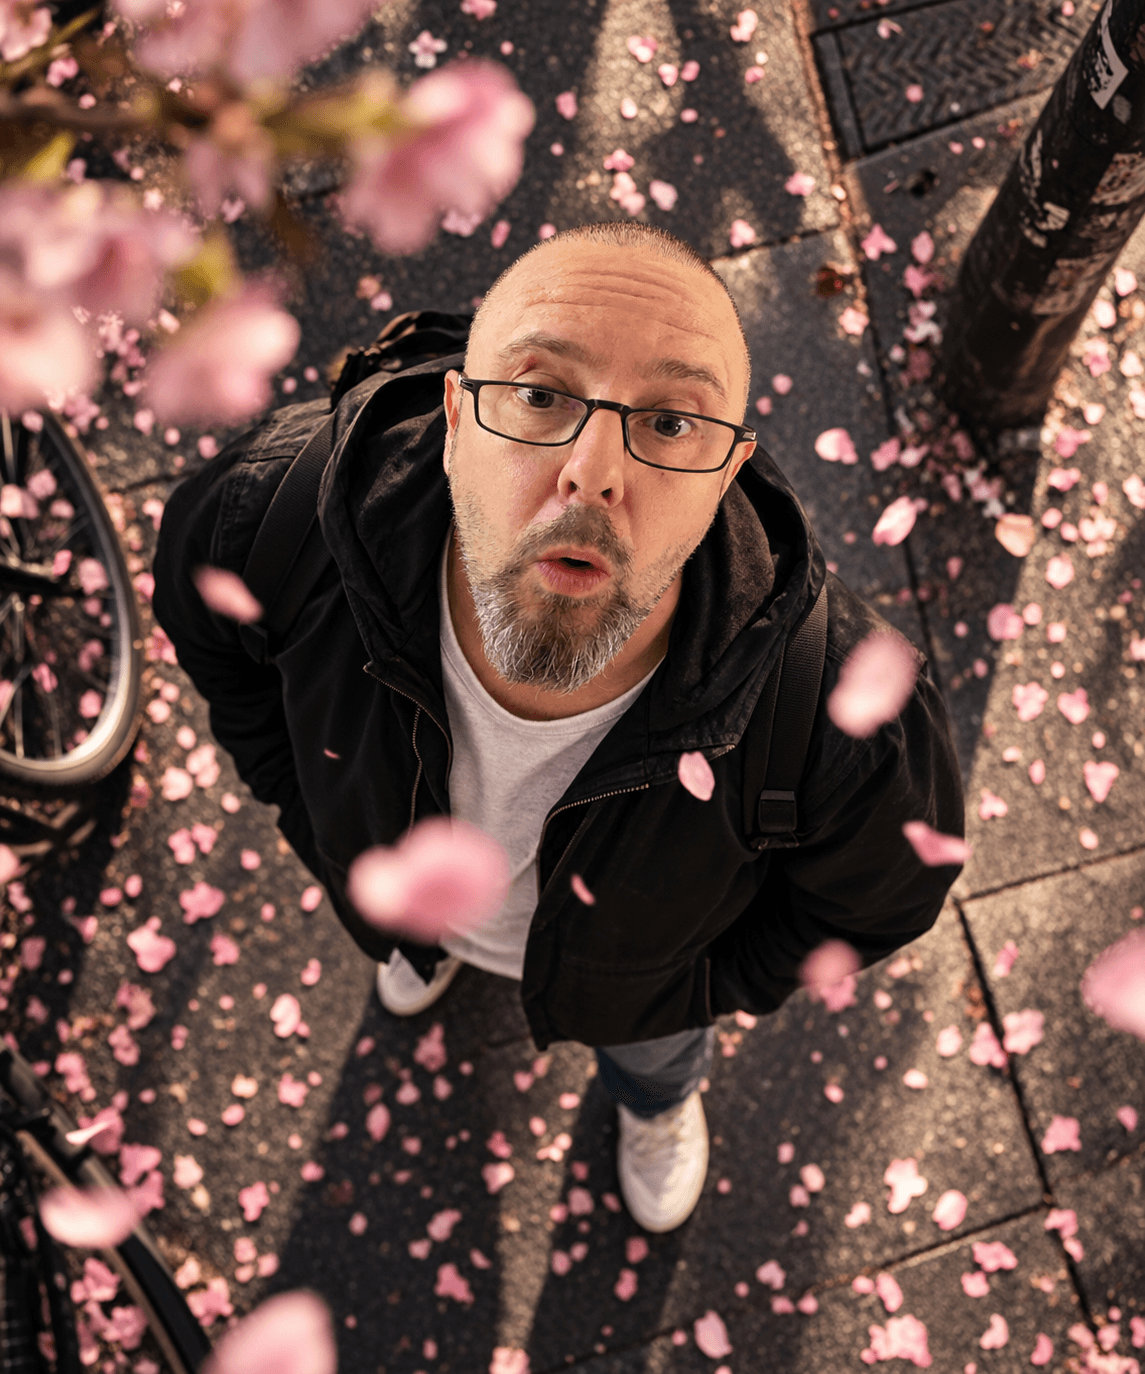
Okay, sorry für das Bild. Jetzt mal zu ein paar ernsthaften Anwendungen
/cinematicphoto
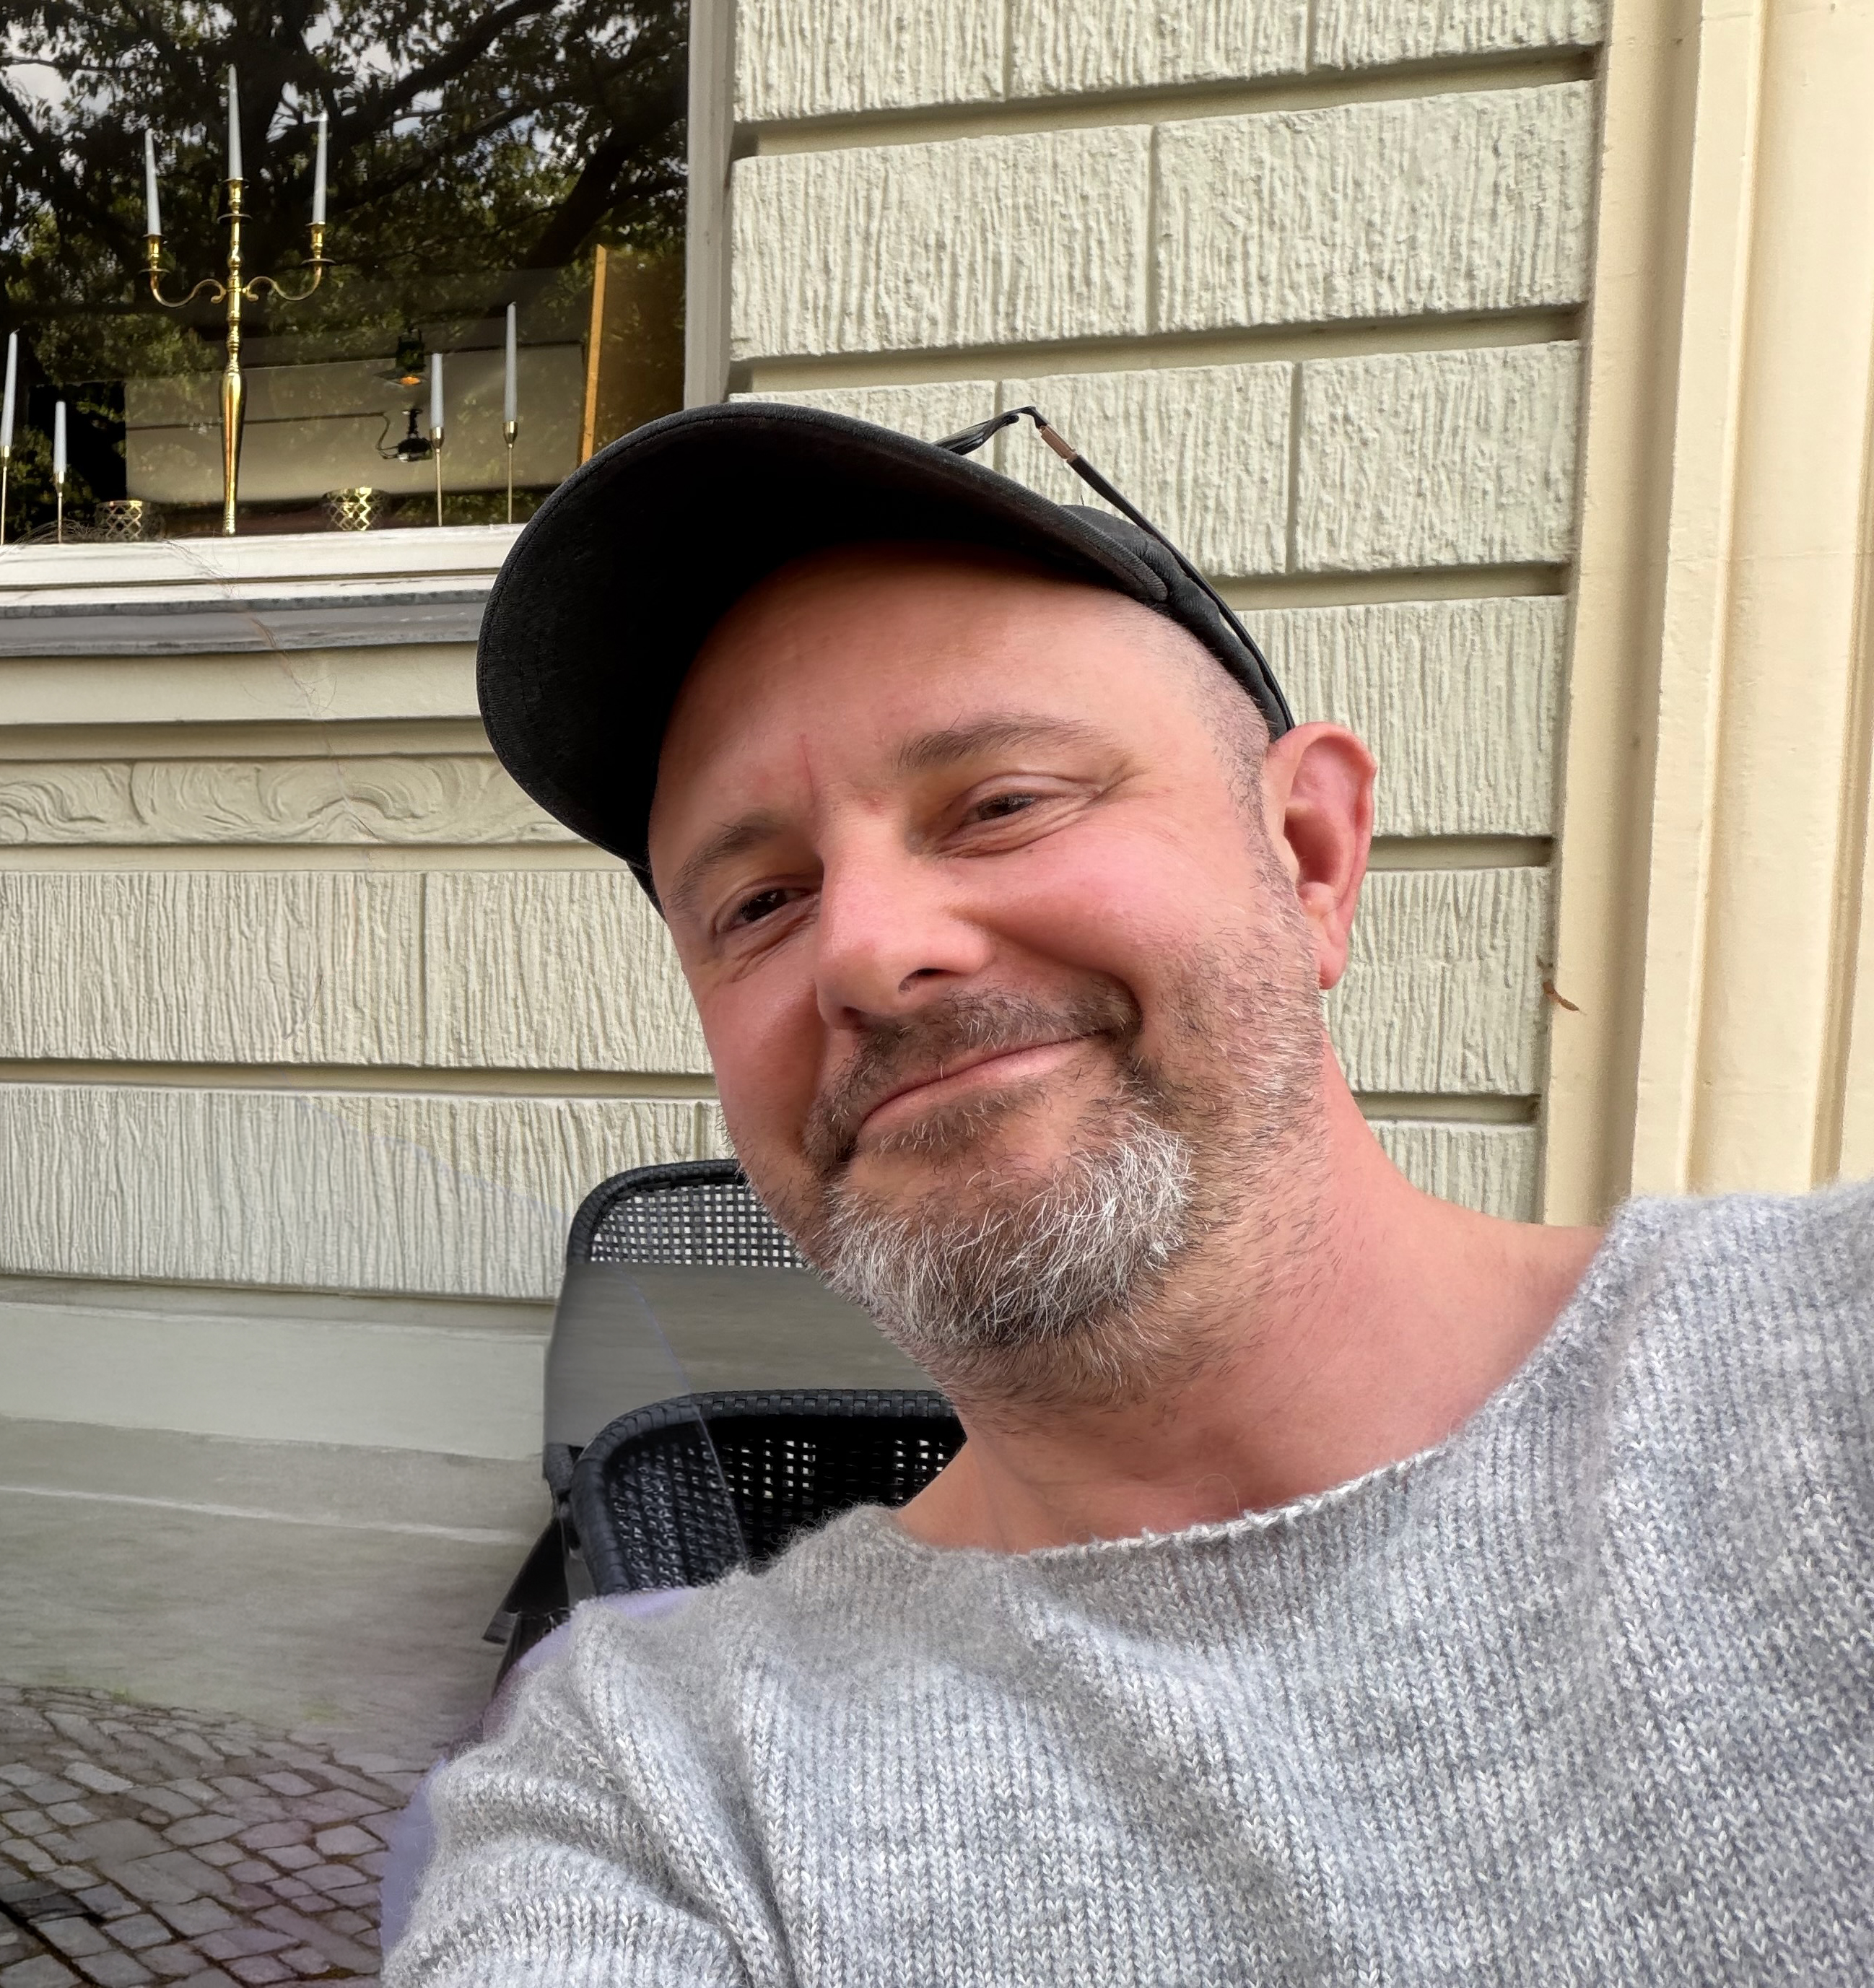
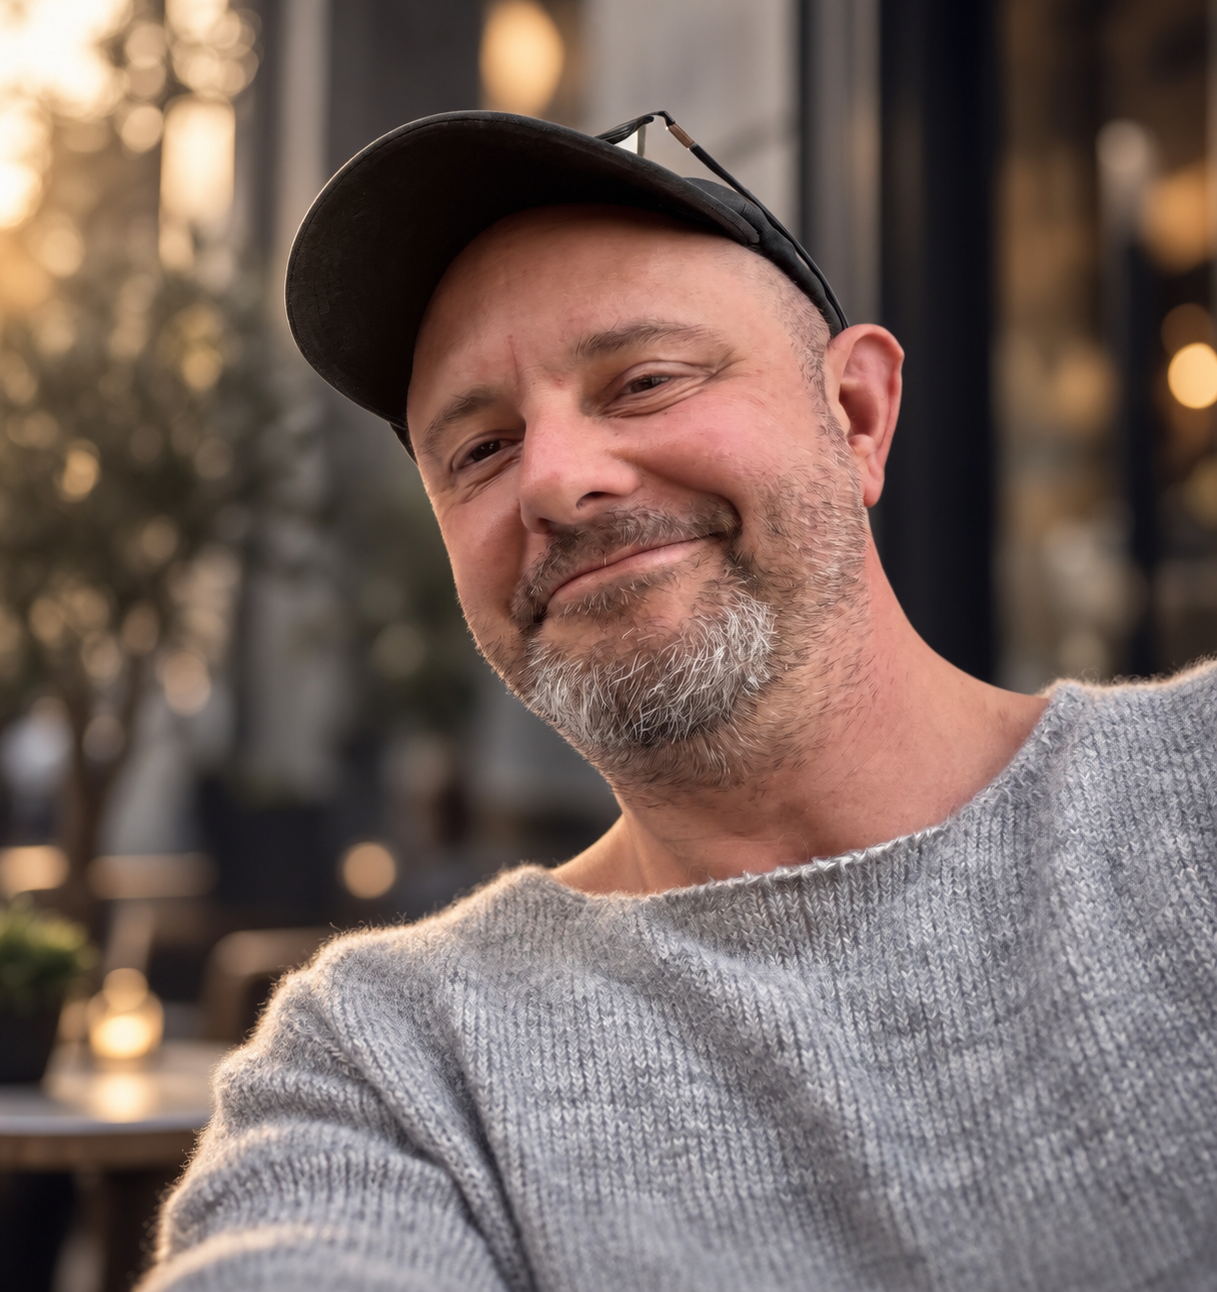
Einfach mal den Hintergrund professionalisieren und bei der Gelegenheit die Beleuchtung aufpeppen.
|
|
Vorher | Nachher |
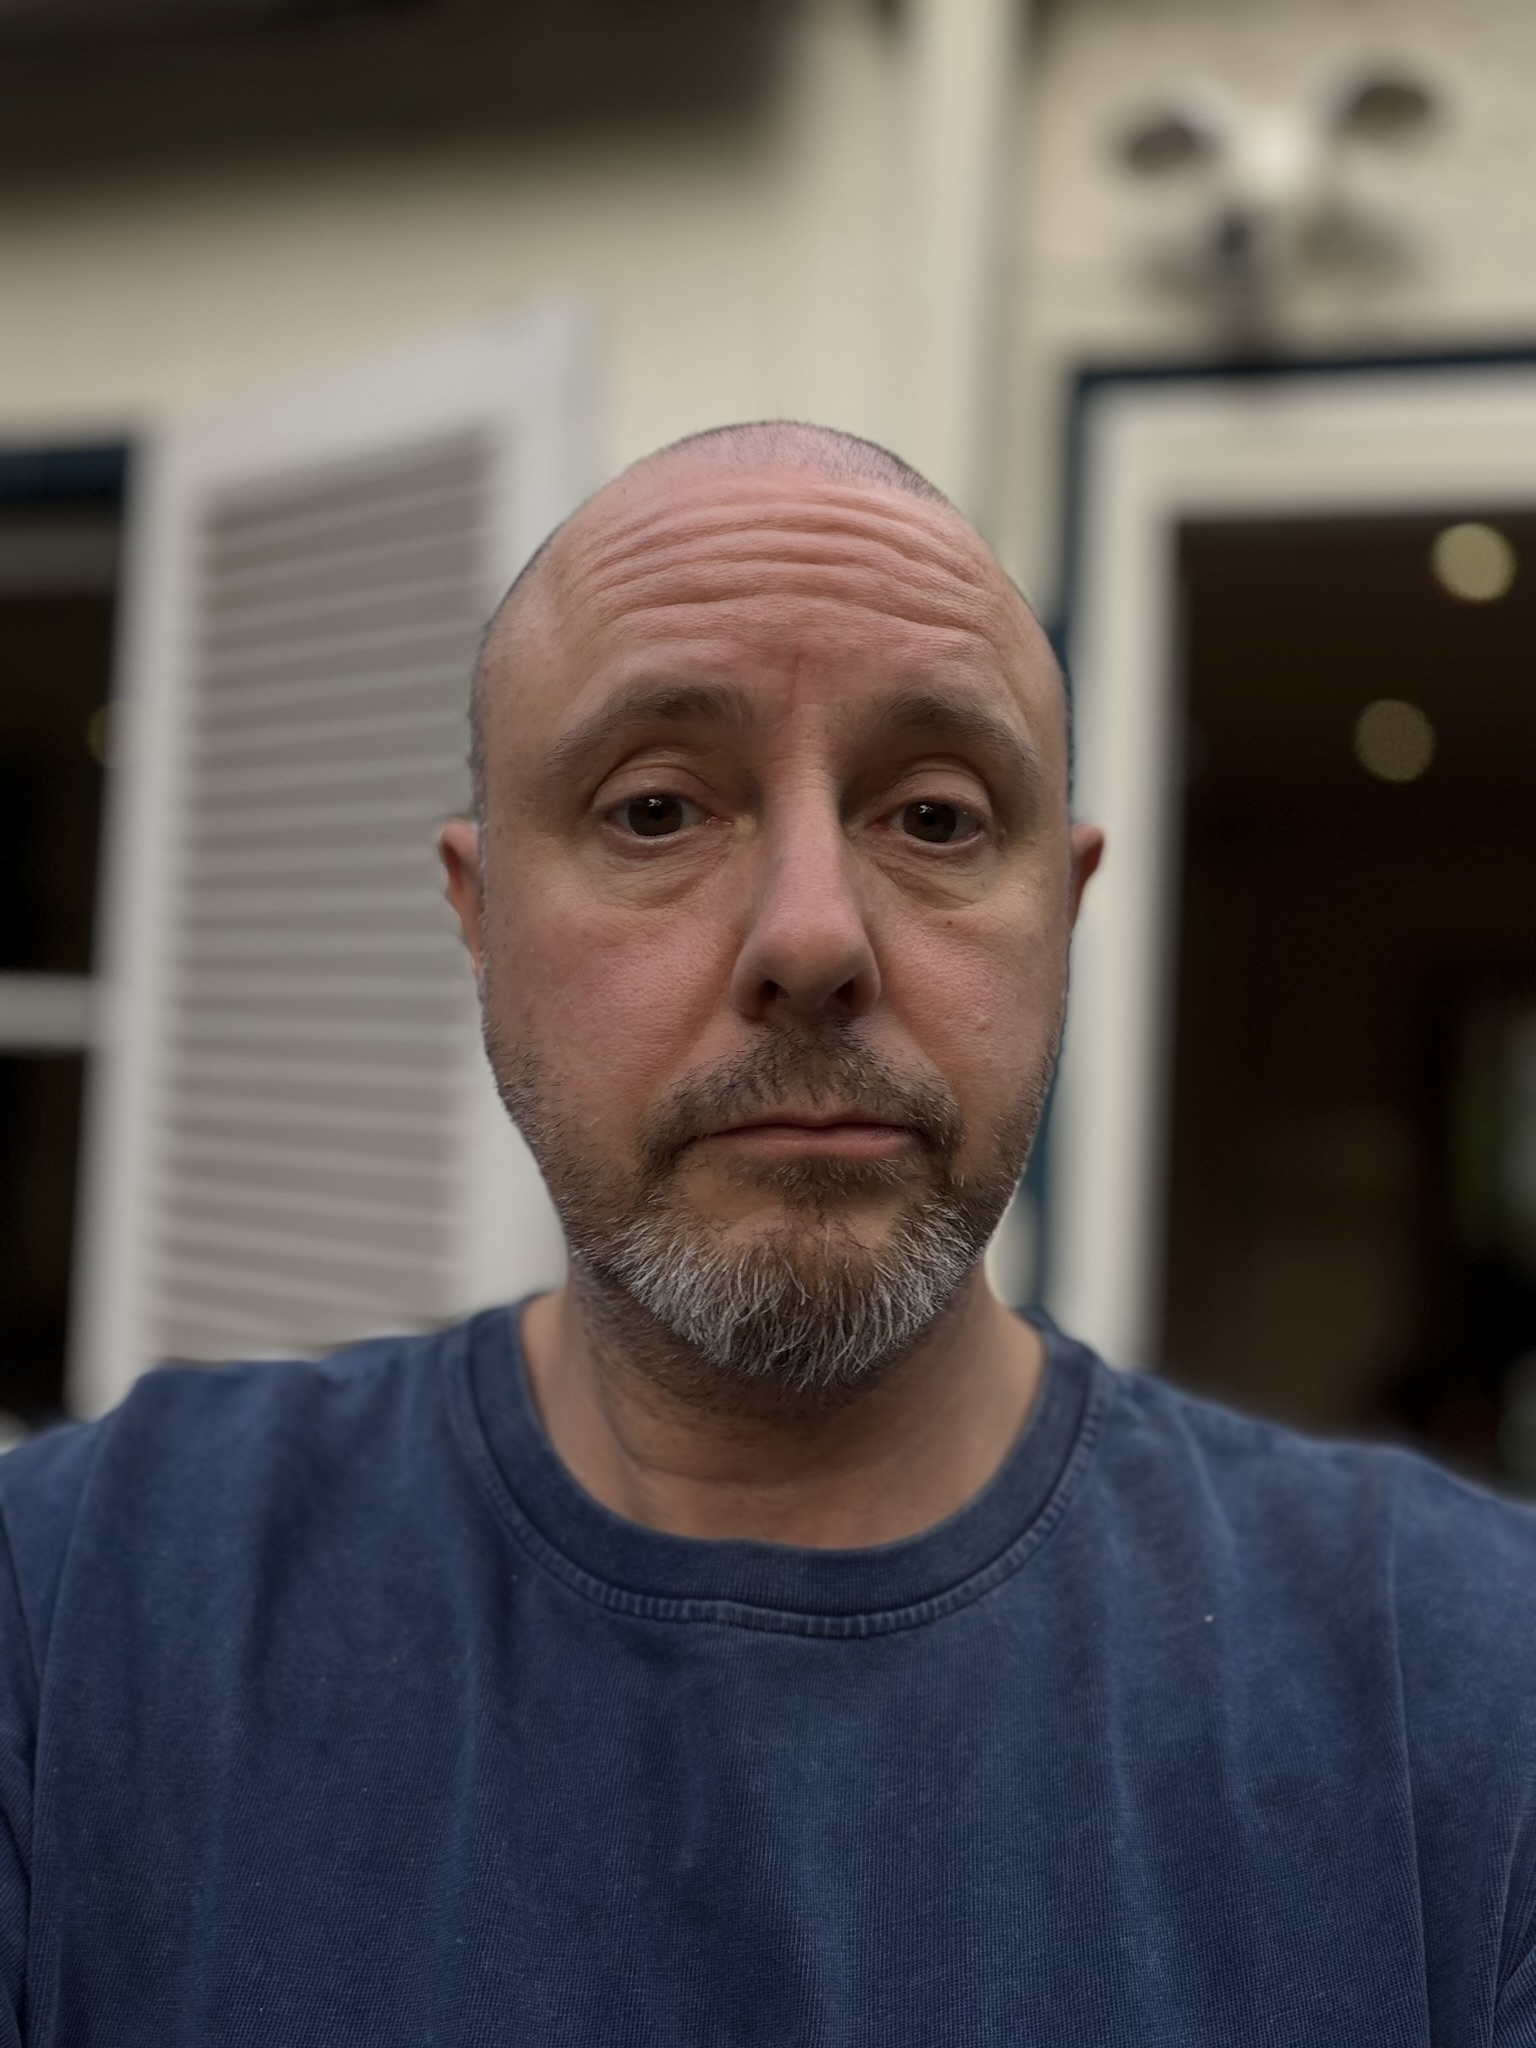
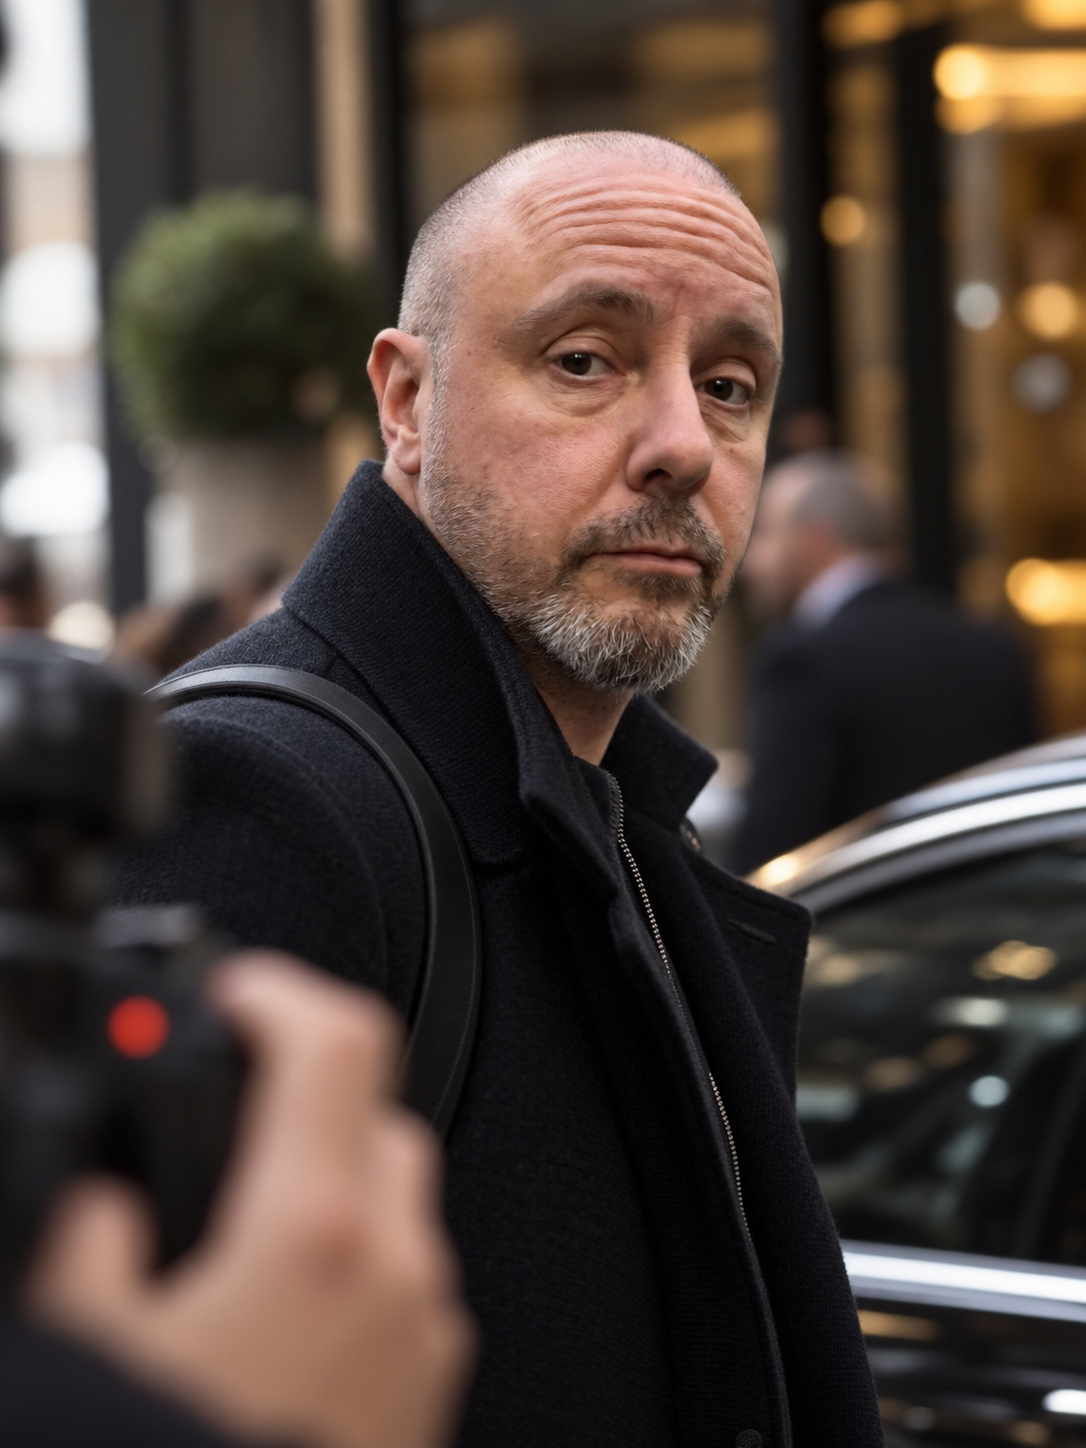
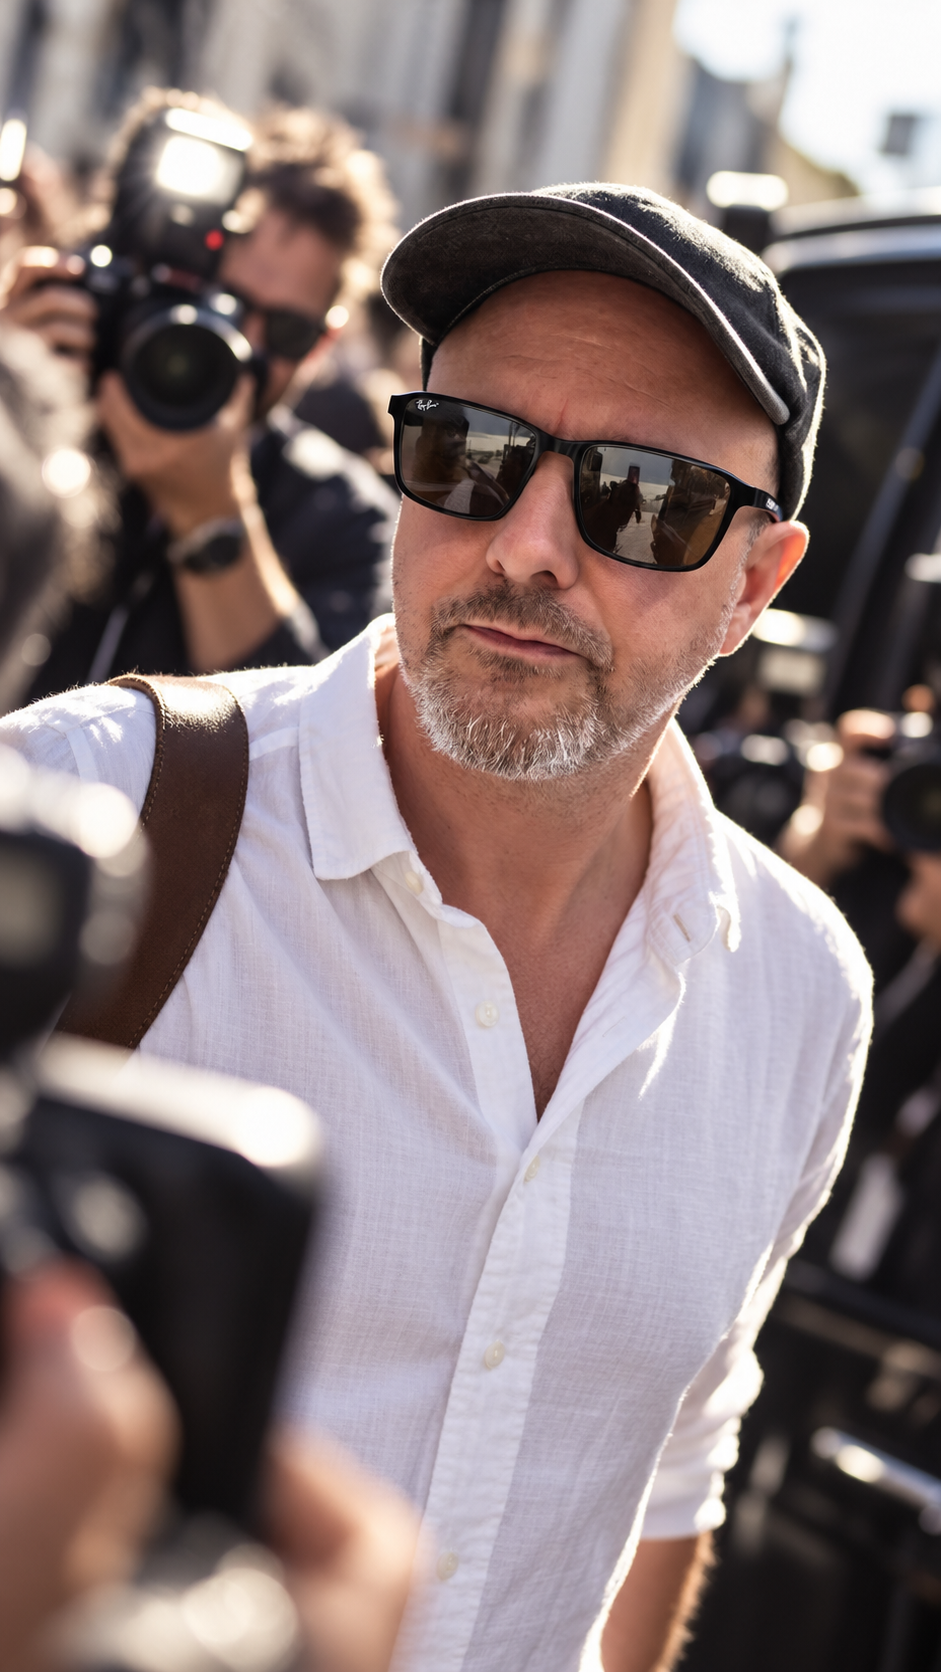
/paparazzieditorial
Damit lassen sich wirklich erstaunliche Ergebnisse erzielen. Richtig coole Bilder. Probiert mal ein bisschen damit rum.
|
|
Vorher | Nachher |
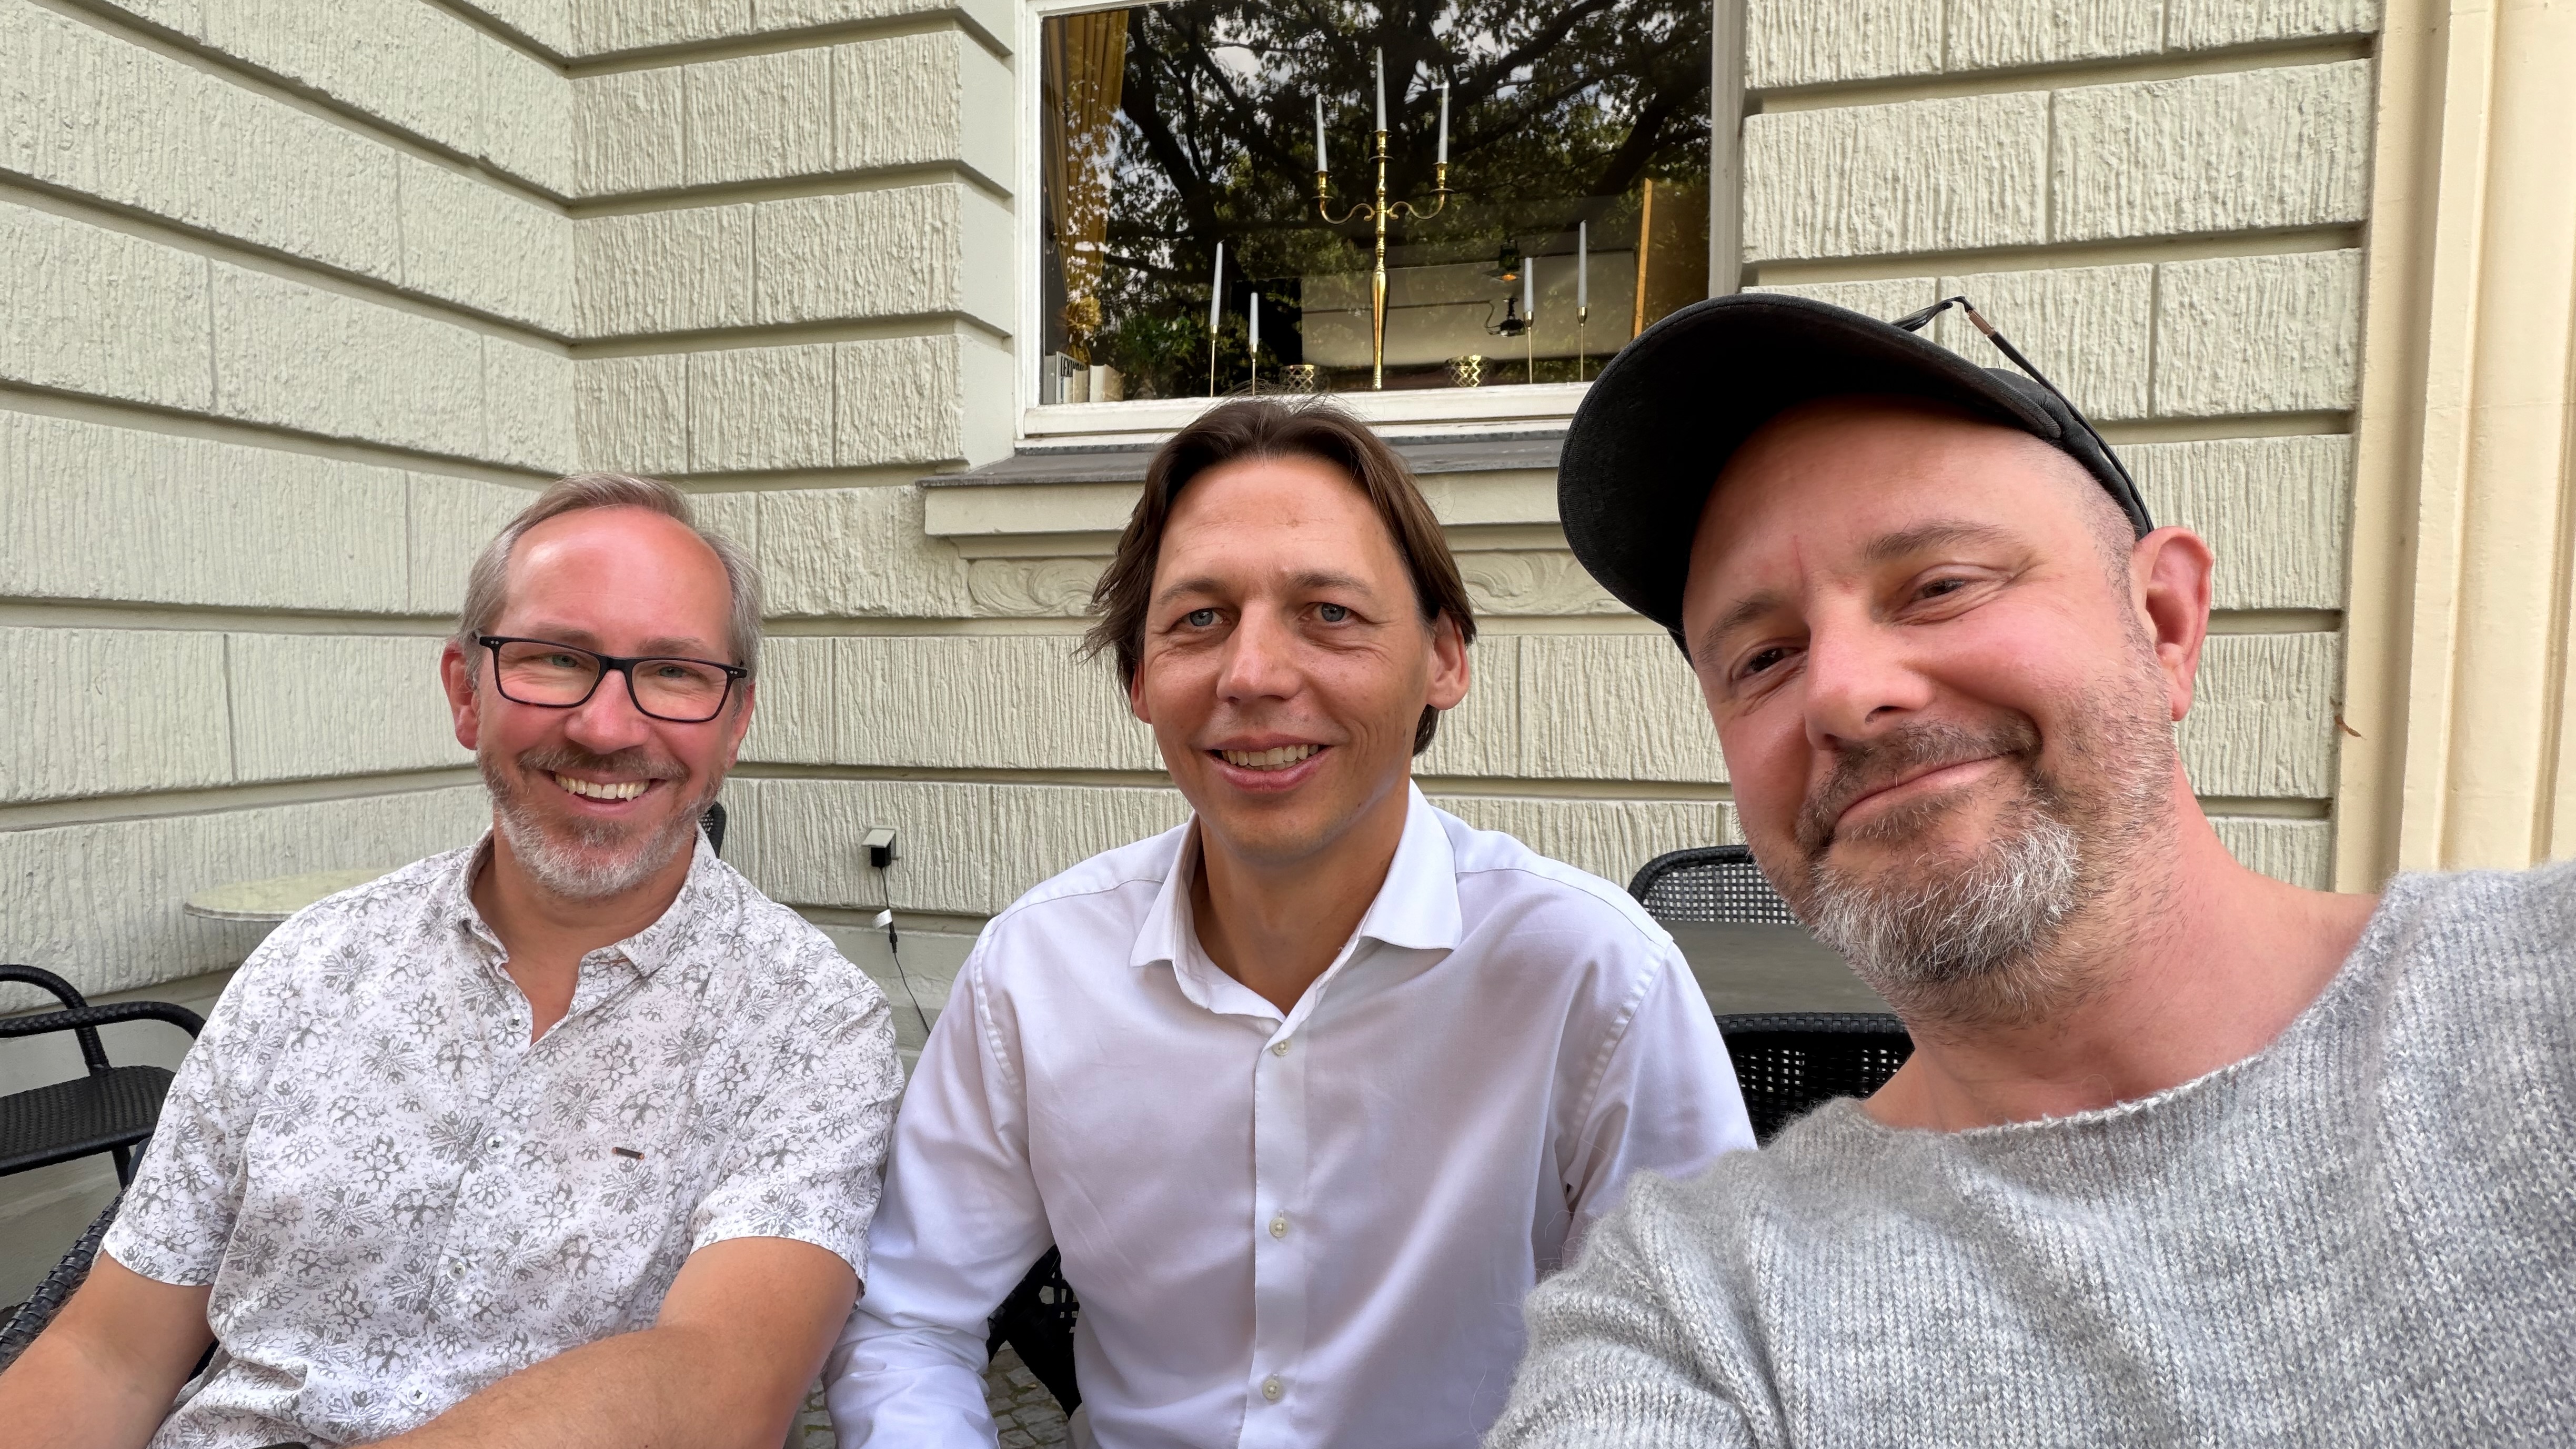
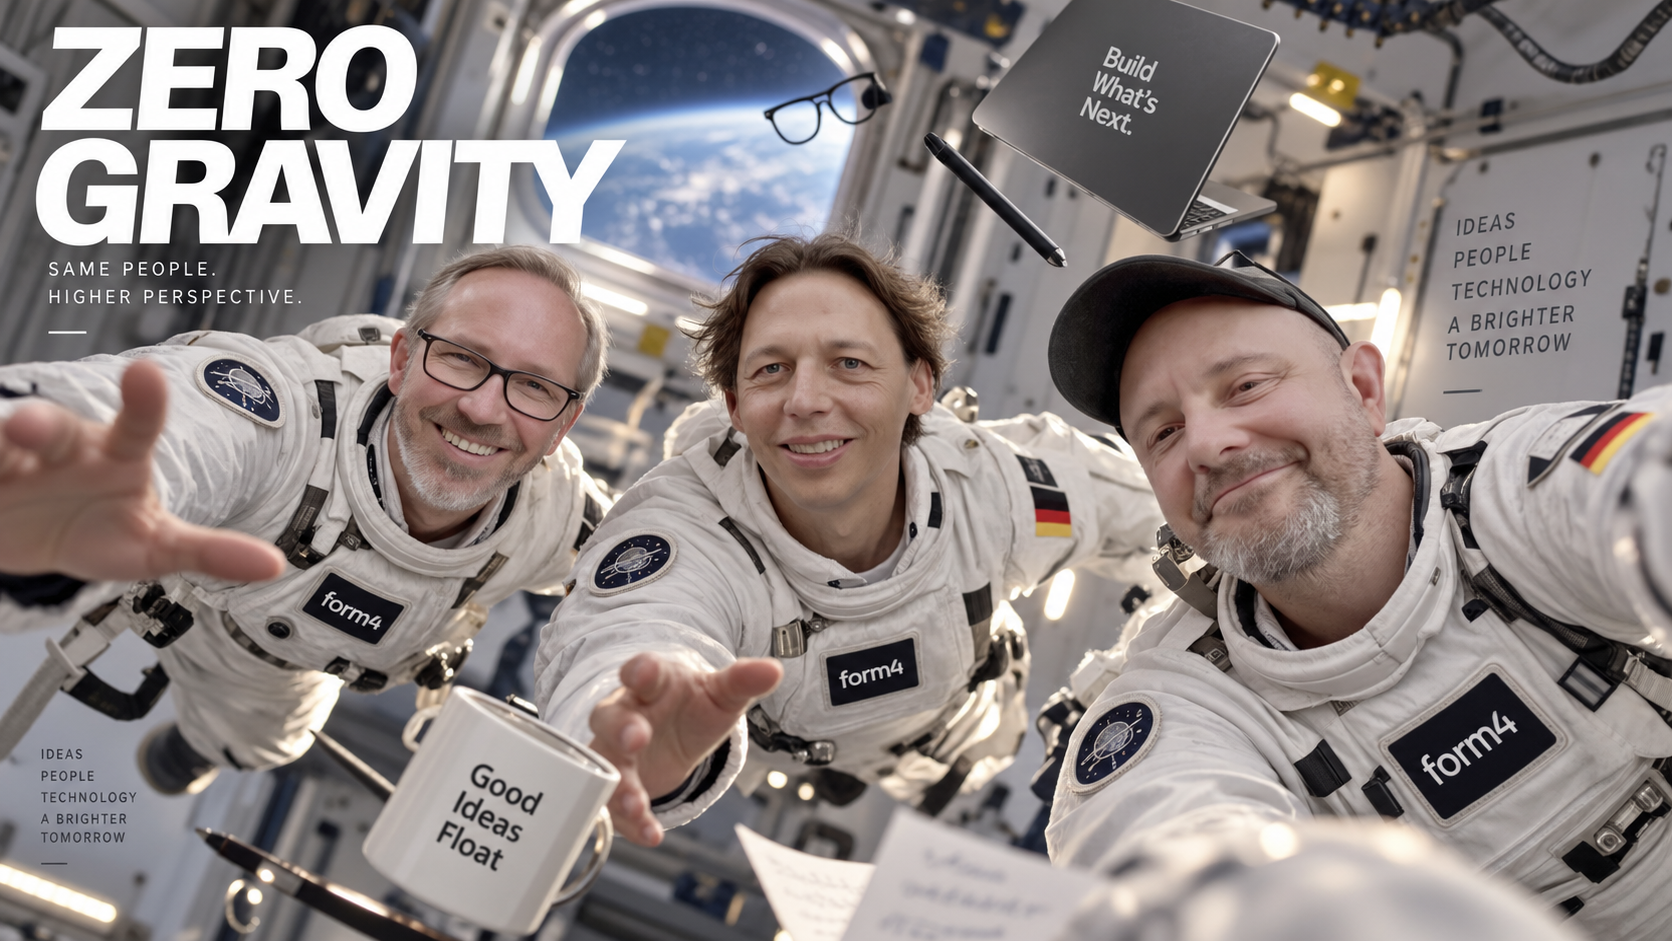
/zerogravityeditorial
Ja, okay, das ist albern. Aber cool.
|
|
Vorher | Nachher |
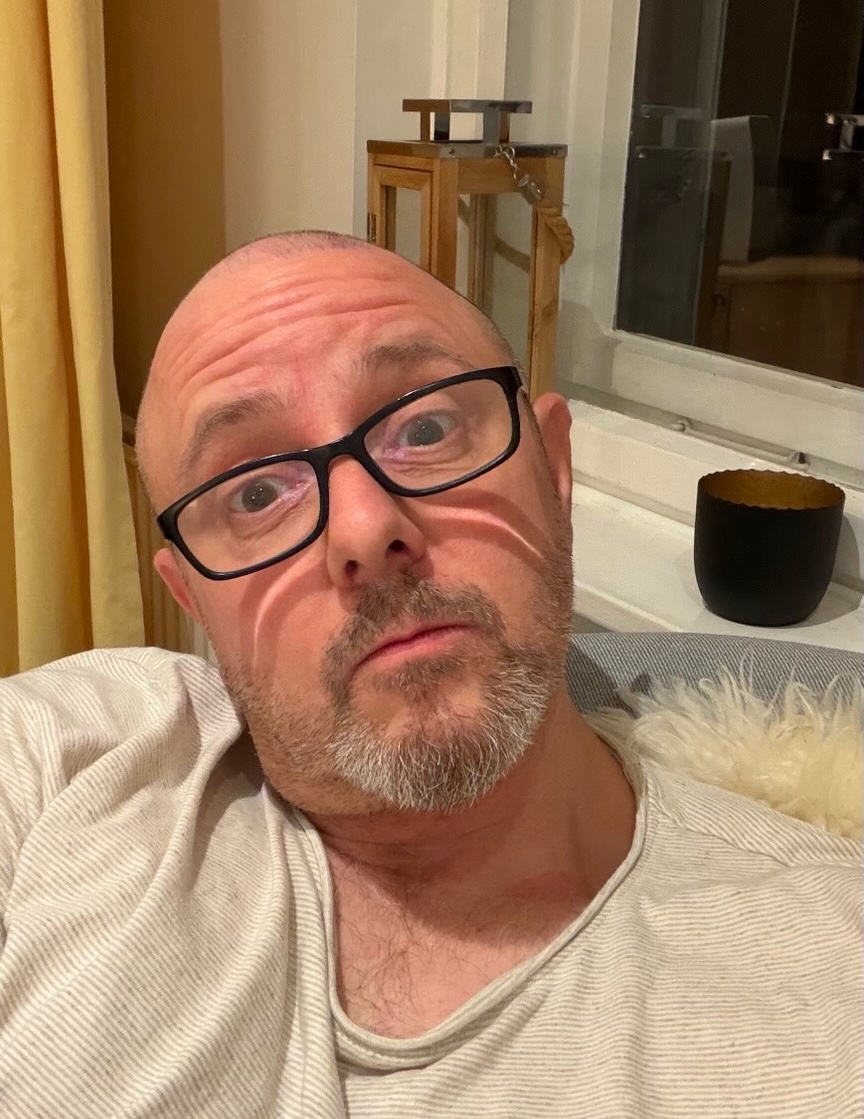
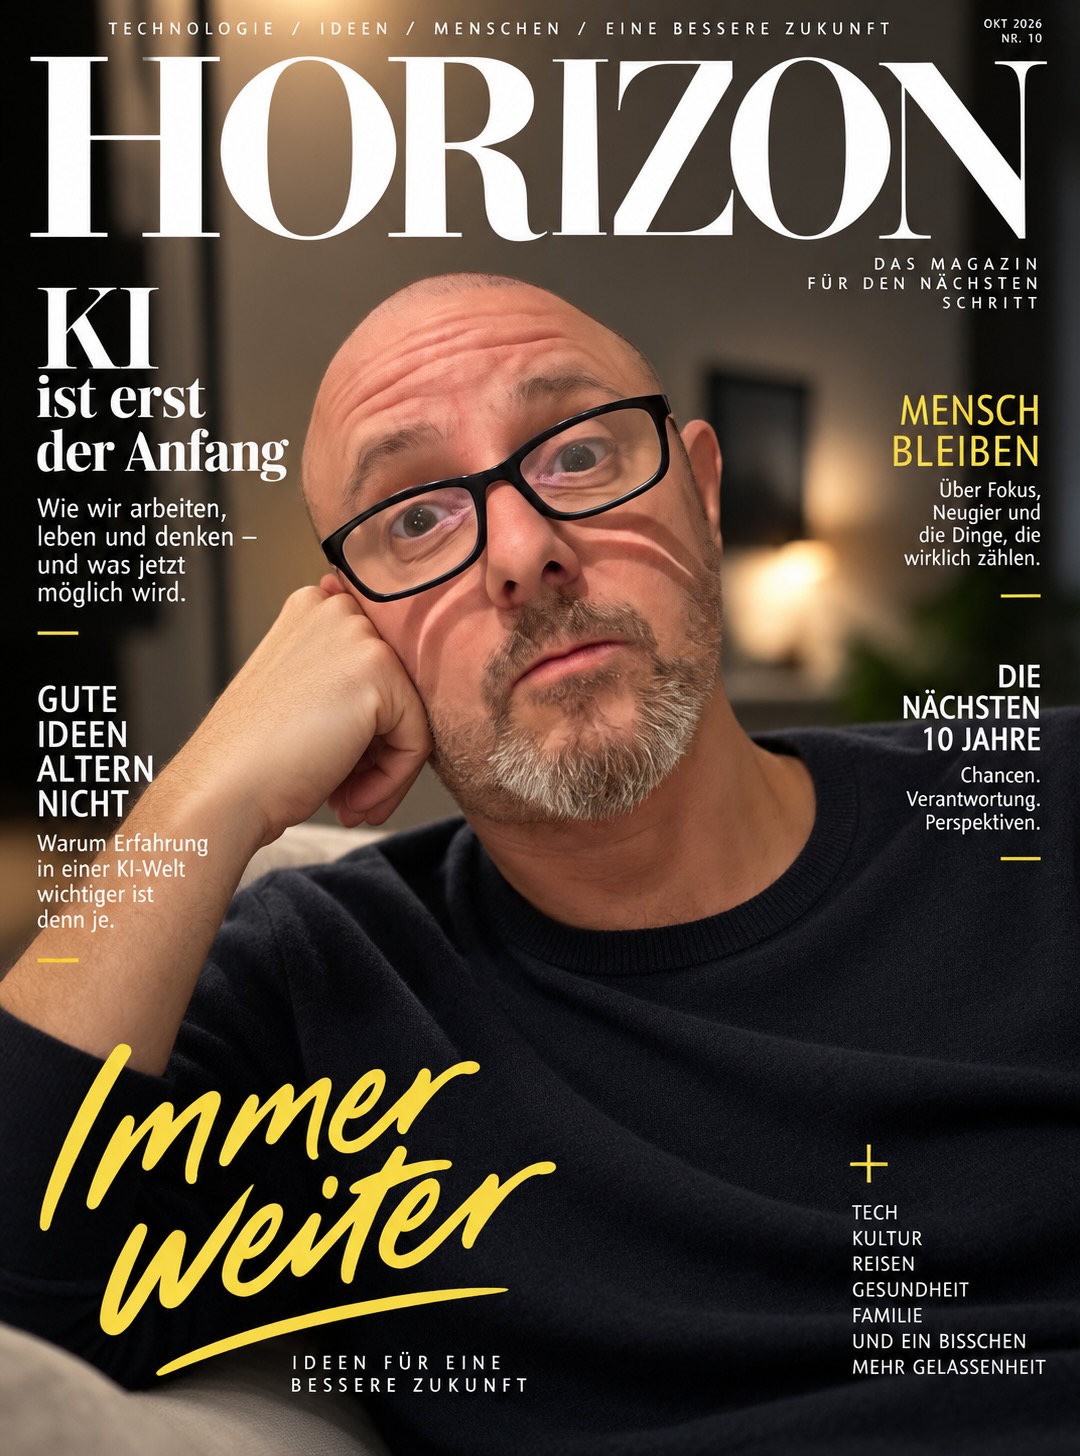
/magazinecover
Noch alberner und noch ein bisschen cooler. Bemerkenswert sind die Texte drumherum. Sieht man mir das alles an der Nasenspitze an?
|
|
Vorher | Nachher |
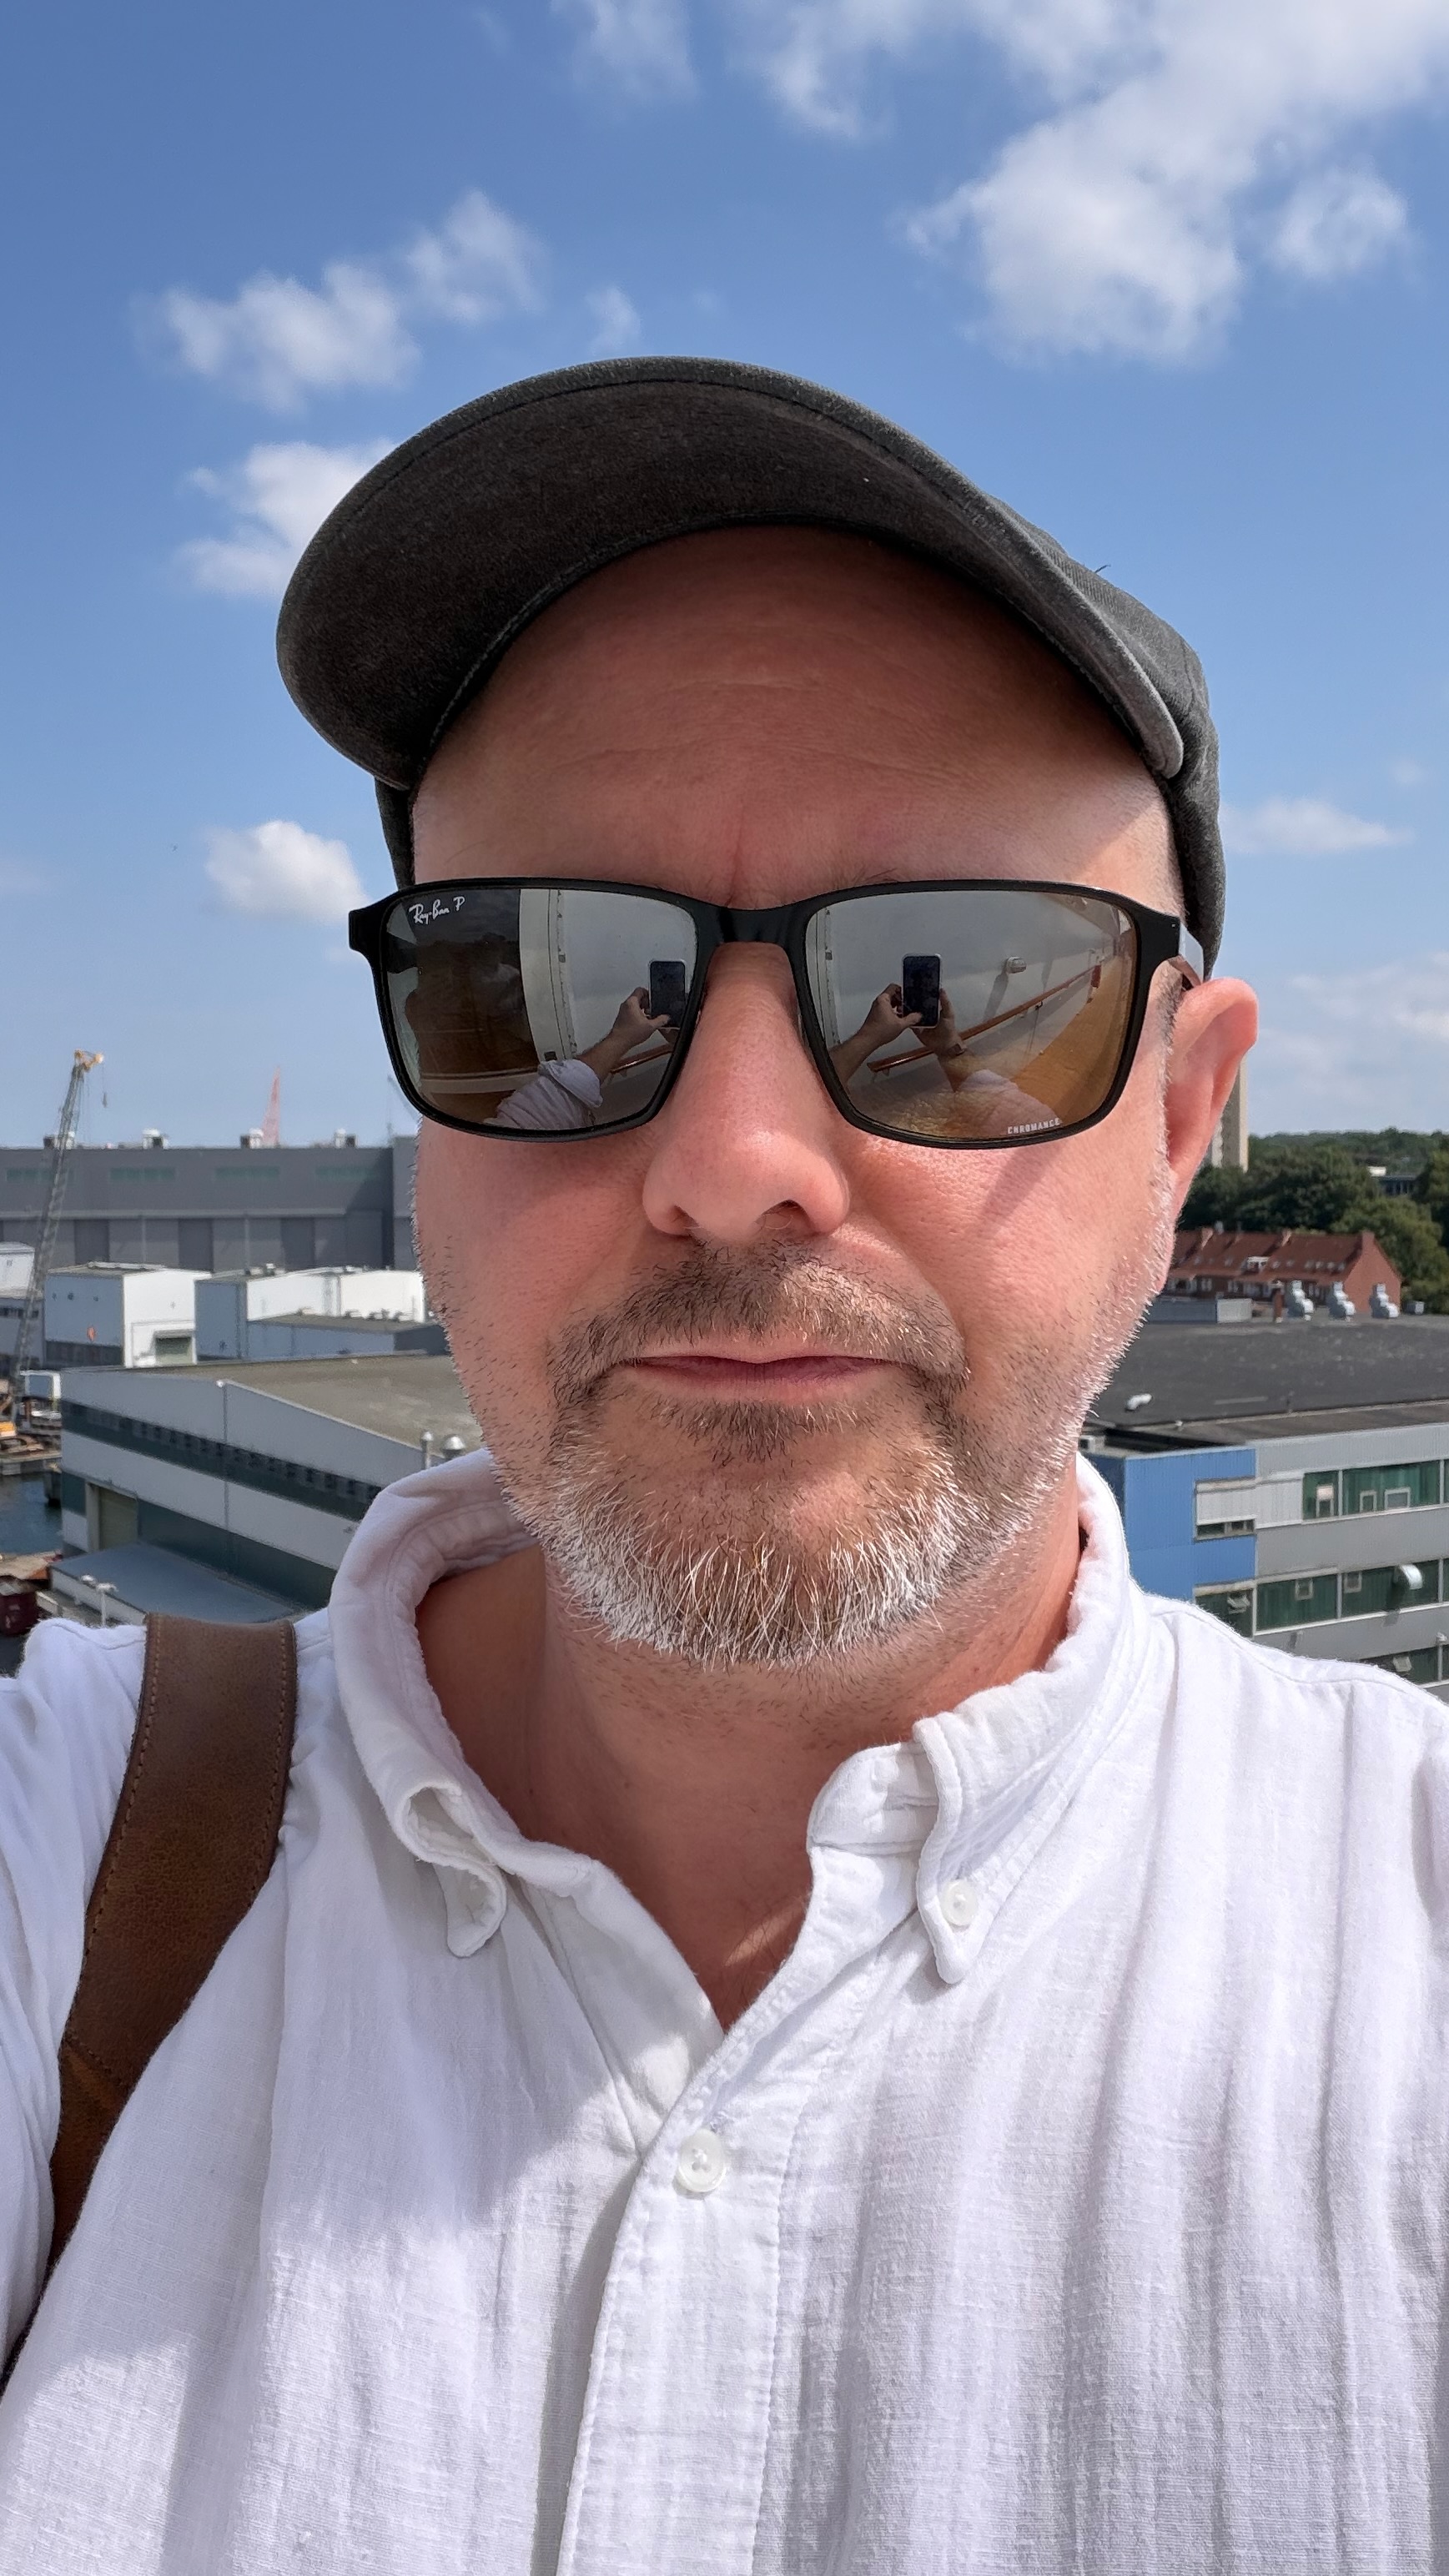
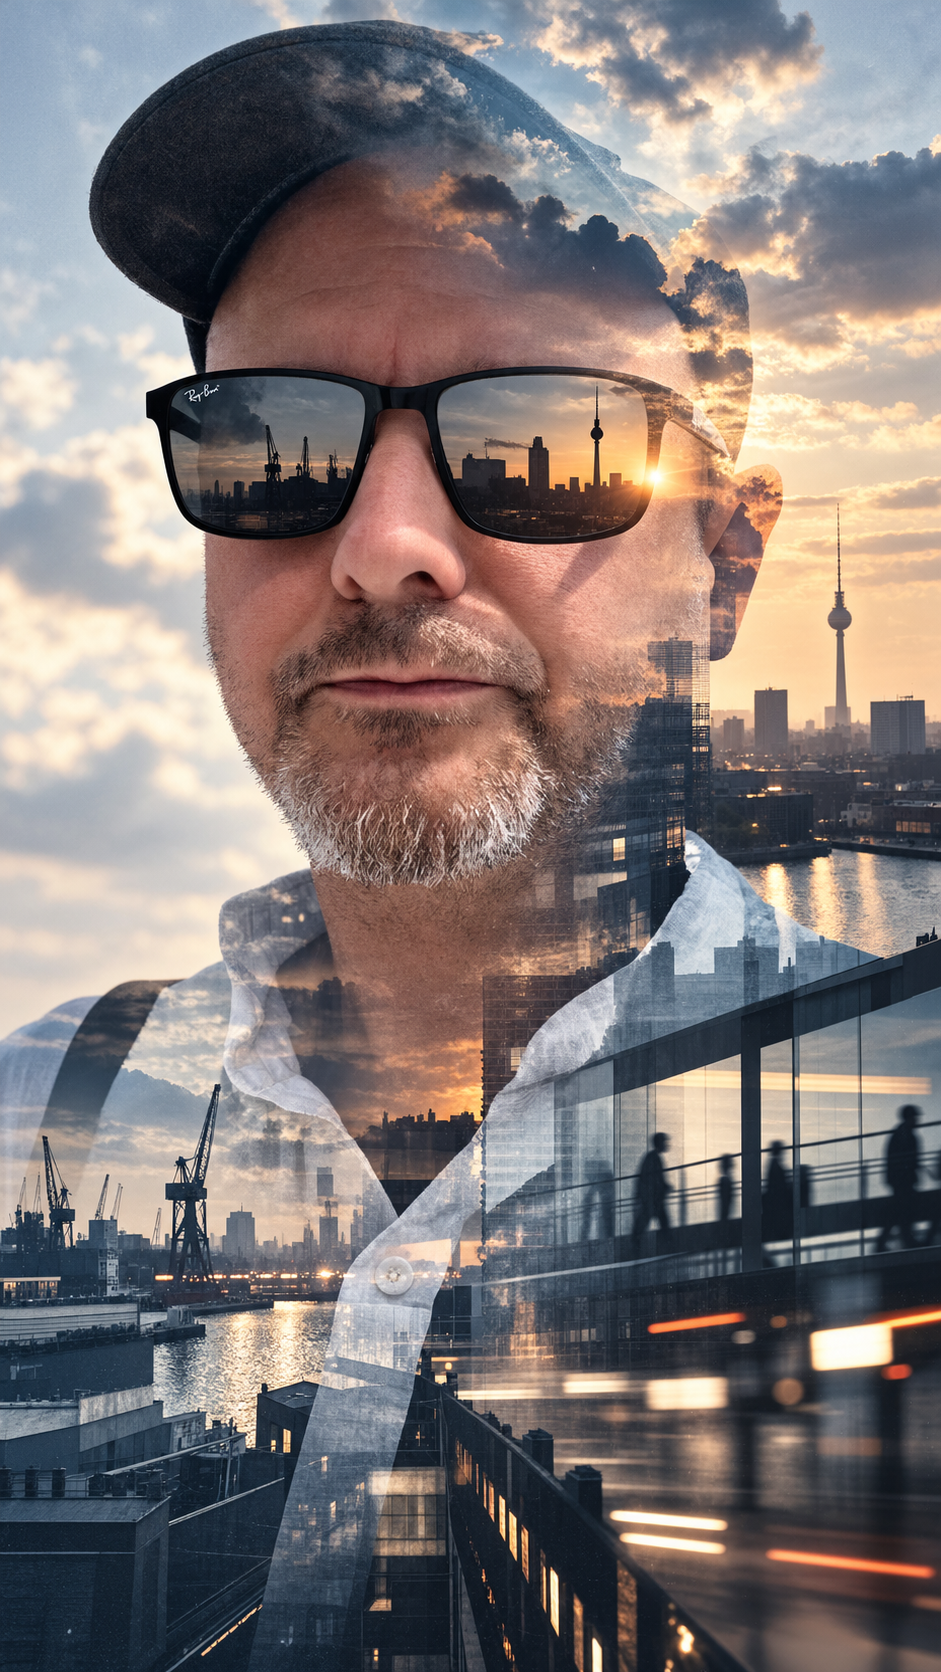
/doubleexposureviral
|
|
Vorher | Nachher |
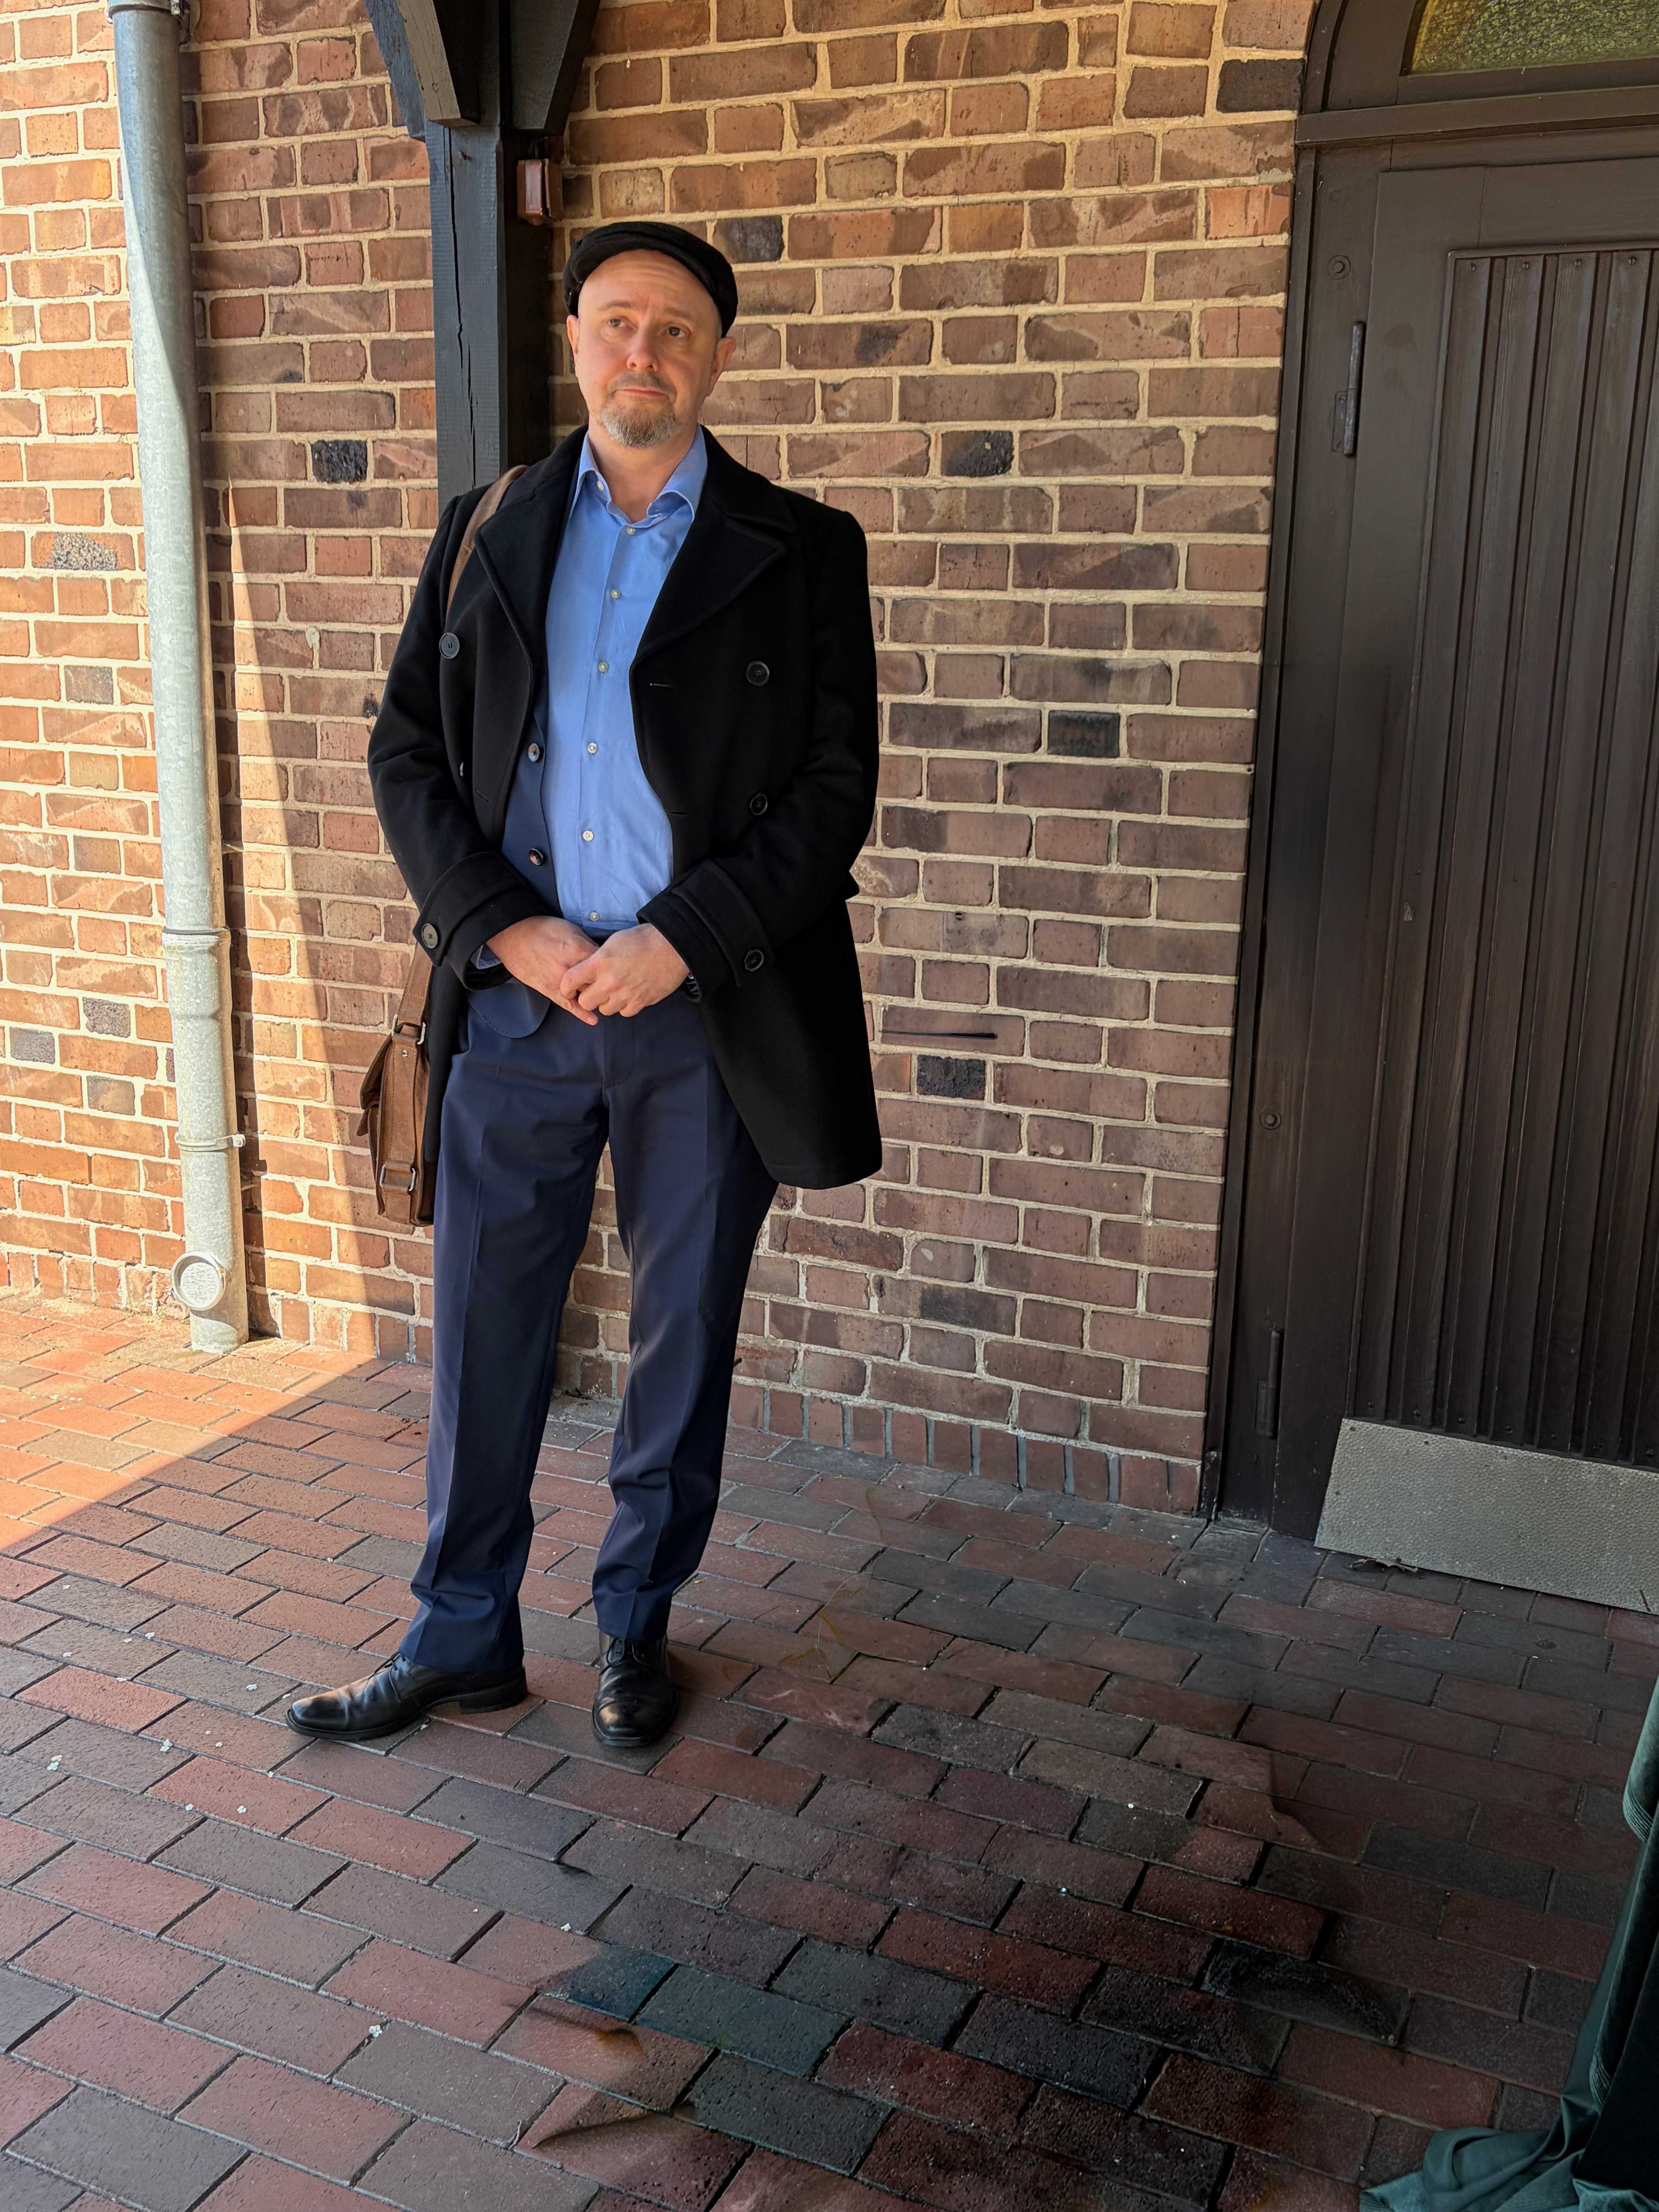
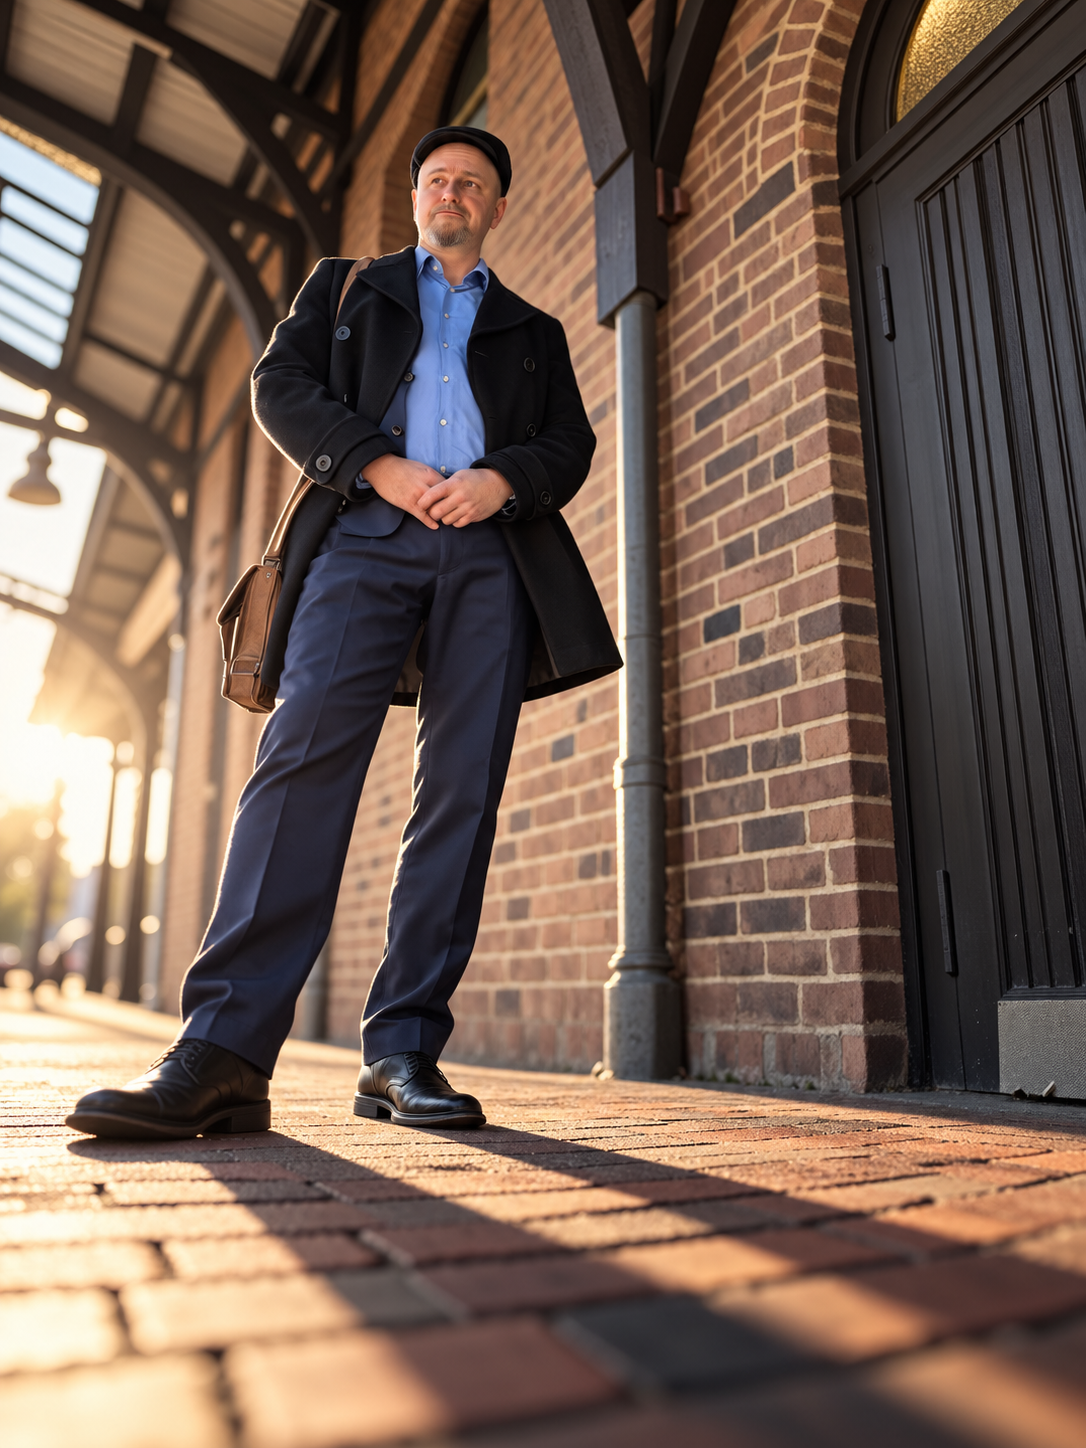
/epicperspective
Auch hier lohnt sich das Herumspielen mit verschiedenen Motiven und zum Teil beeindruckenden Ergebnissen.
|
|
Vorher | Nachher |
/makato-shinkai
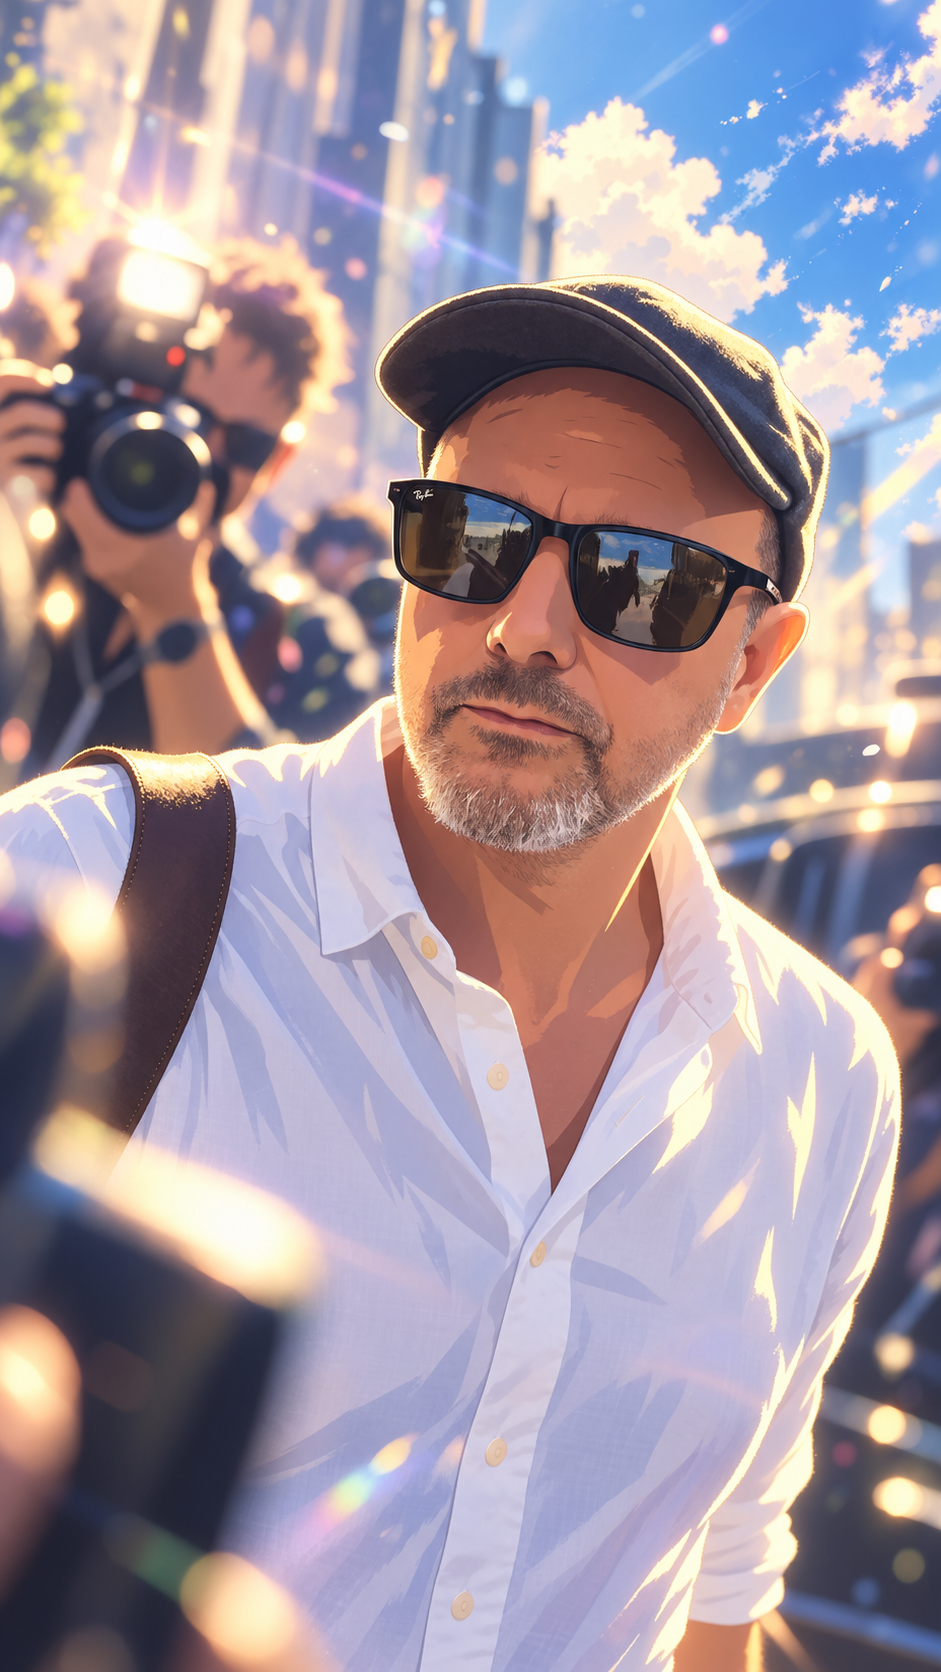
Man kann das natürlich auch kombinieren. Das linke Bild habe ich bereits mit /paparazzieditorial erzeugt und dann weiter verarbeitet über /makato-shinkai.
|
|
Vorher | Nachher |
Der perfekte Prompt für LinkedIn-Profil-Fotos
Hier der ultimative Prompt (den ich lange mit ChatGPT ausgehandelt habe), um ein richtig schönes, professionelles Corporate-Profilfoto zu erstellen:
Create a premium editorial studio portrait using the attached photograph as the strict identity reference.
IDENTITY PRESERVATION IS THE HIGHEST PRIORITY. This must unmistakably be the exact same person from the reference photograph, not a look-alike, not an idealized reinterpretation, and not a newly generated person inspired by him. Preserve the unique facial geometry and individual character precisely: skull and head shape, forehead proportions and lines, eyebrow shape, eye shape, eye spacing, eyelids, nose shape and width, cheek structure, ears, mouth and lip shape, jawline, chin, goatee shape and natural gray coloration, and all characteristic asymmetries. Preserve the person’s apparent age and recognizable facial character.
Do not beautify by changing facial anatomy. Do not make the face more symmetrical, narrower, broader, younger, more conventionally handsome, or more model-like. Do not enlarge the eyes, reshape the nose, strengthen the jaw, change the mouth, alter the skull, or replace characteristic facial features.
Instead, make him look healthier, rested, energetic and naturally well photographed through lighting, color, posture and subtle photographic grooming only. Give the skin a healthy, slightly warmer complexion, reduce temporary redness and tired-looking color variation, soften minor under-eye darkness, and give the eyes a little more clarity and vitality. Retain pores, fine lines, forehead lines, beard texture, natural skin variation and age-appropriate detail. No airbrushed skin, beauty-filter effect, plastic texture, cosmetic face retouching or artificial rejuvenation.
Style him as the founder of a modern European technology company rather than a banker or corporate executive. No tie. He wears a beautifully fitted, contemporary dark navy or charcoal blazer over a high-quality open-collar shirt or refined dark crew-neck shirt. Understated, modern, intelligent, slightly unconventional. Premium materials, excellent fit, no visible logos. The overall impression should be tech founder / creative entrepreneur / experienced digital leader, confident without looking corporate.
Frame the portrait from approximately mid-chest upward. His torso is turned about 15–25 degrees away from the camera while his face and eyes engage directly with the lens. Relaxed shoulders, upright posture. Expression: calm confidence, intelligence, curiosity and authority, with a very subtle warmth around the eyes — not stern, not smiling broadly, not posing like a business-stock-photo model.
Photograph him in a world-class contemporary portrait studio. Background: deep neutral charcoal (#141414), subtly dimensional rather than perfectly flat. Use a large soft key light approximately 45 degrees from camera, gentle fill, subtle rim separation on shoulders and head, beautiful natural catchlights in both eyes. Soft cinematic falloff across the face while keeping both eyes clearly visible. No harsh shadows.
Simulate a full-frame professional camera with an 85mm portrait lens at approximately f/2.2, photographed from natural eye level or only very slightly above. Avoid wide-angle perspective completely. Natural facial proportions, realistic lens compression, shallow depth of field, tack-sharp focus on the eyes, gradually softer detail toward the ears and clothing.
Photorealistic high-end editorial photography, extremely high resolution, realistic micro-detail, individual beard hairs, visible fabric weave, natural pores and skin texture. Sophisticated cinematic color science, restrained contrast, warm natural skin tones against the cool dark wardrobe and charcoal background.
Think of an editorial founder portrait commissioned for the cover story of a premium technology or design magazine — not LinkedIn stock photography, not a bank executive portrait, not a fashion model, not an AI-generated glamour portrait.
Leave generous negative space above and around the head so the image can later be cropped into square, 4:5 and circular profile formats without cutting into the head.
Final priority order:
1. Exact identity and facial character from the reference image2. Natural photographic realism3. Healthy, rested, energetic appearance without anatomical beautification4. Contemporary founder/creative-tech presence5. Premium studio-photography aesthetics
If any aesthetic instruction conflicts with preserving the person’s identity, preserve the identity and ignore the aesthetic instruction.
|
|
Vorher | Nachher |
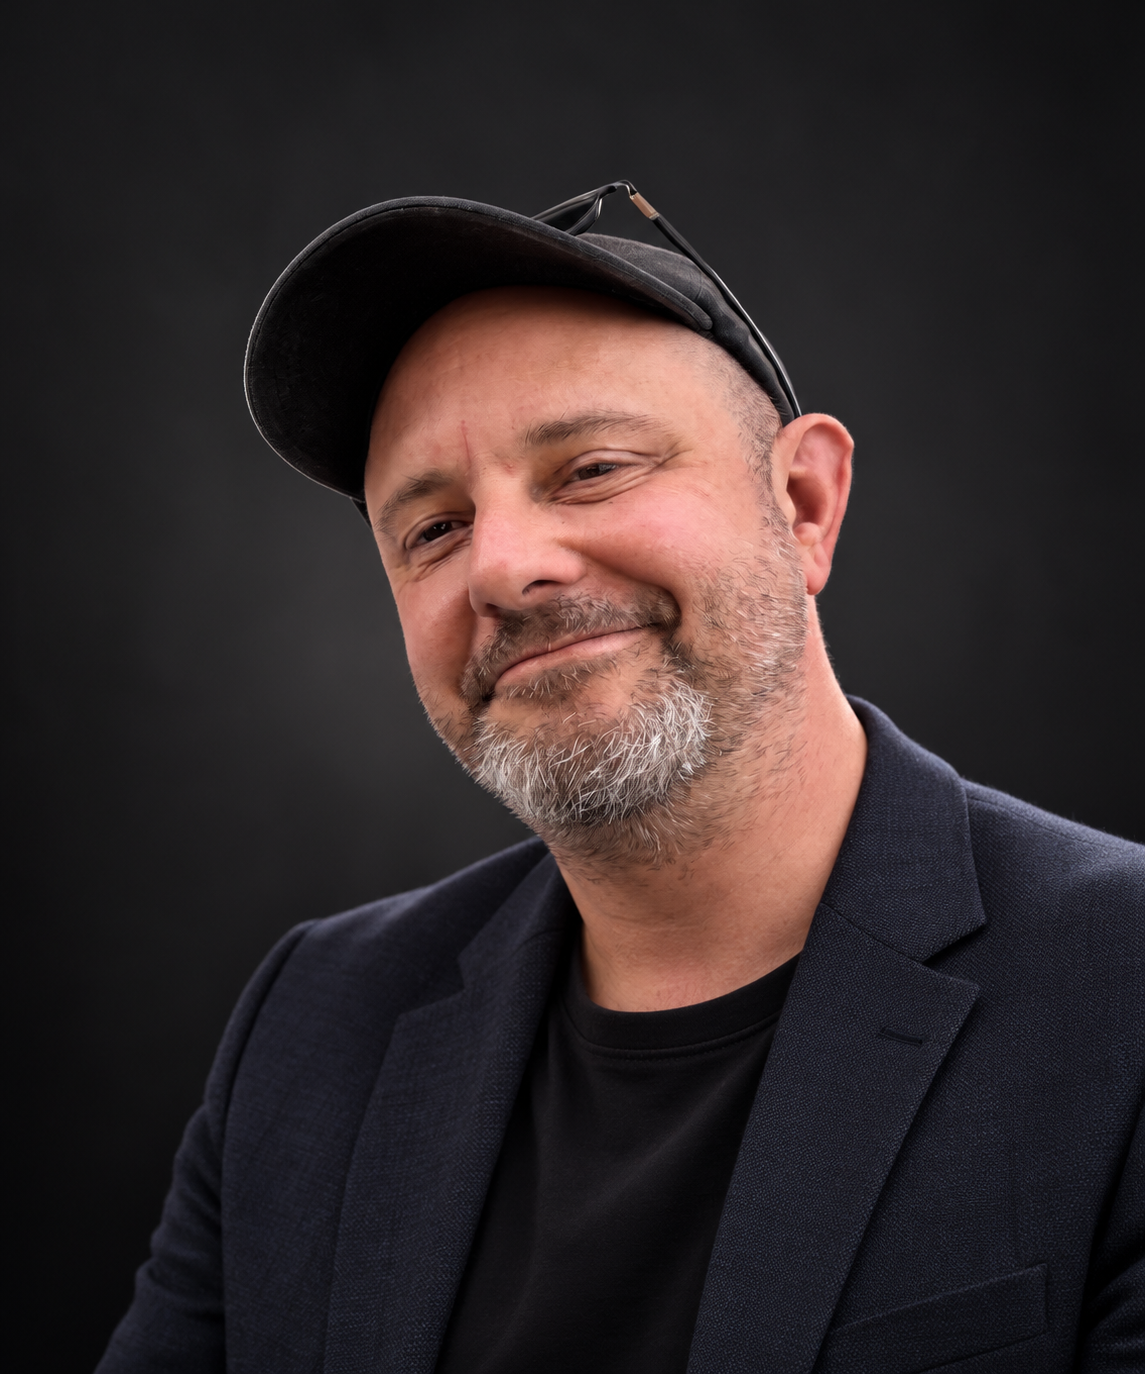
Das kann danach natürlich noch durch weitere ChatGPT-Filter geschickt werden.
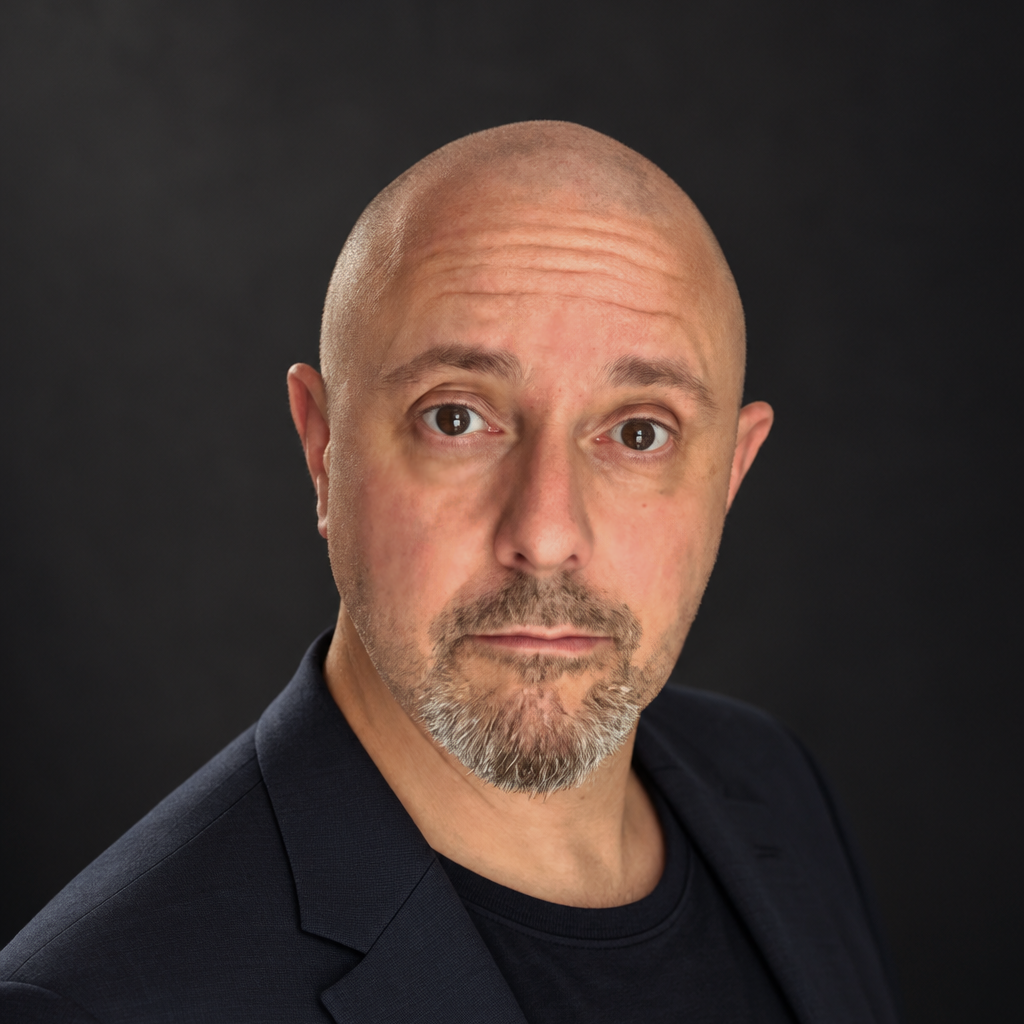
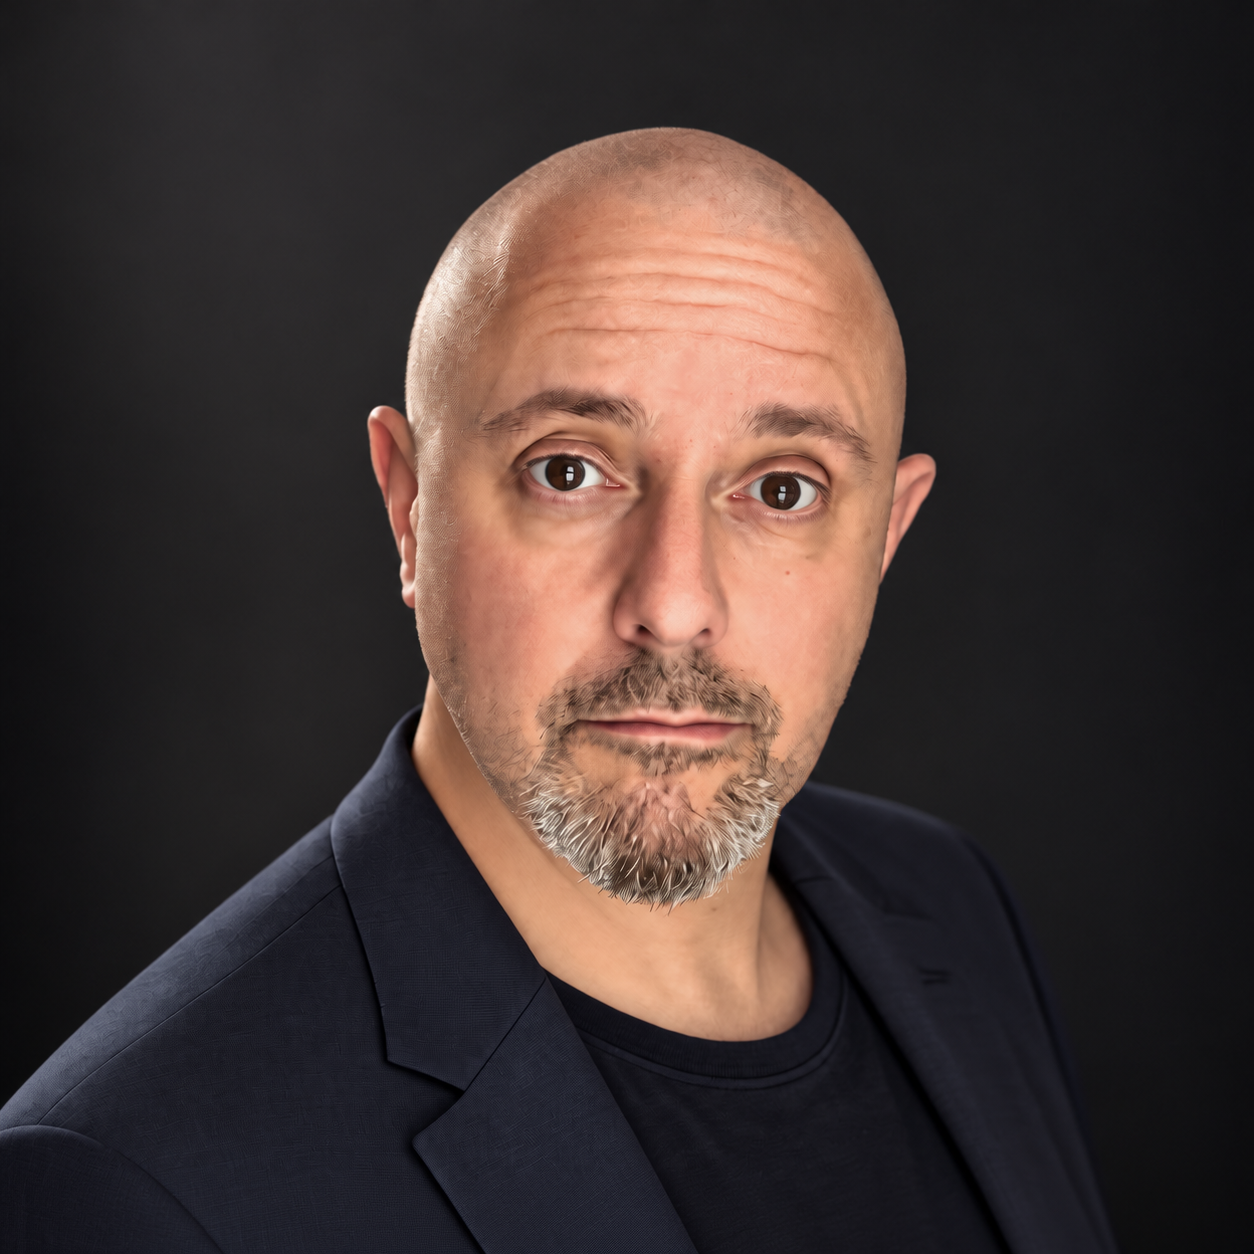
/airbrushed
Kleiner Beauty-Cheat: Die Haut einfach ein bisschen cleaner (ich hab's einfach zwei Mal hintereinander gemacht)
|
|
Vorher | Nachher |
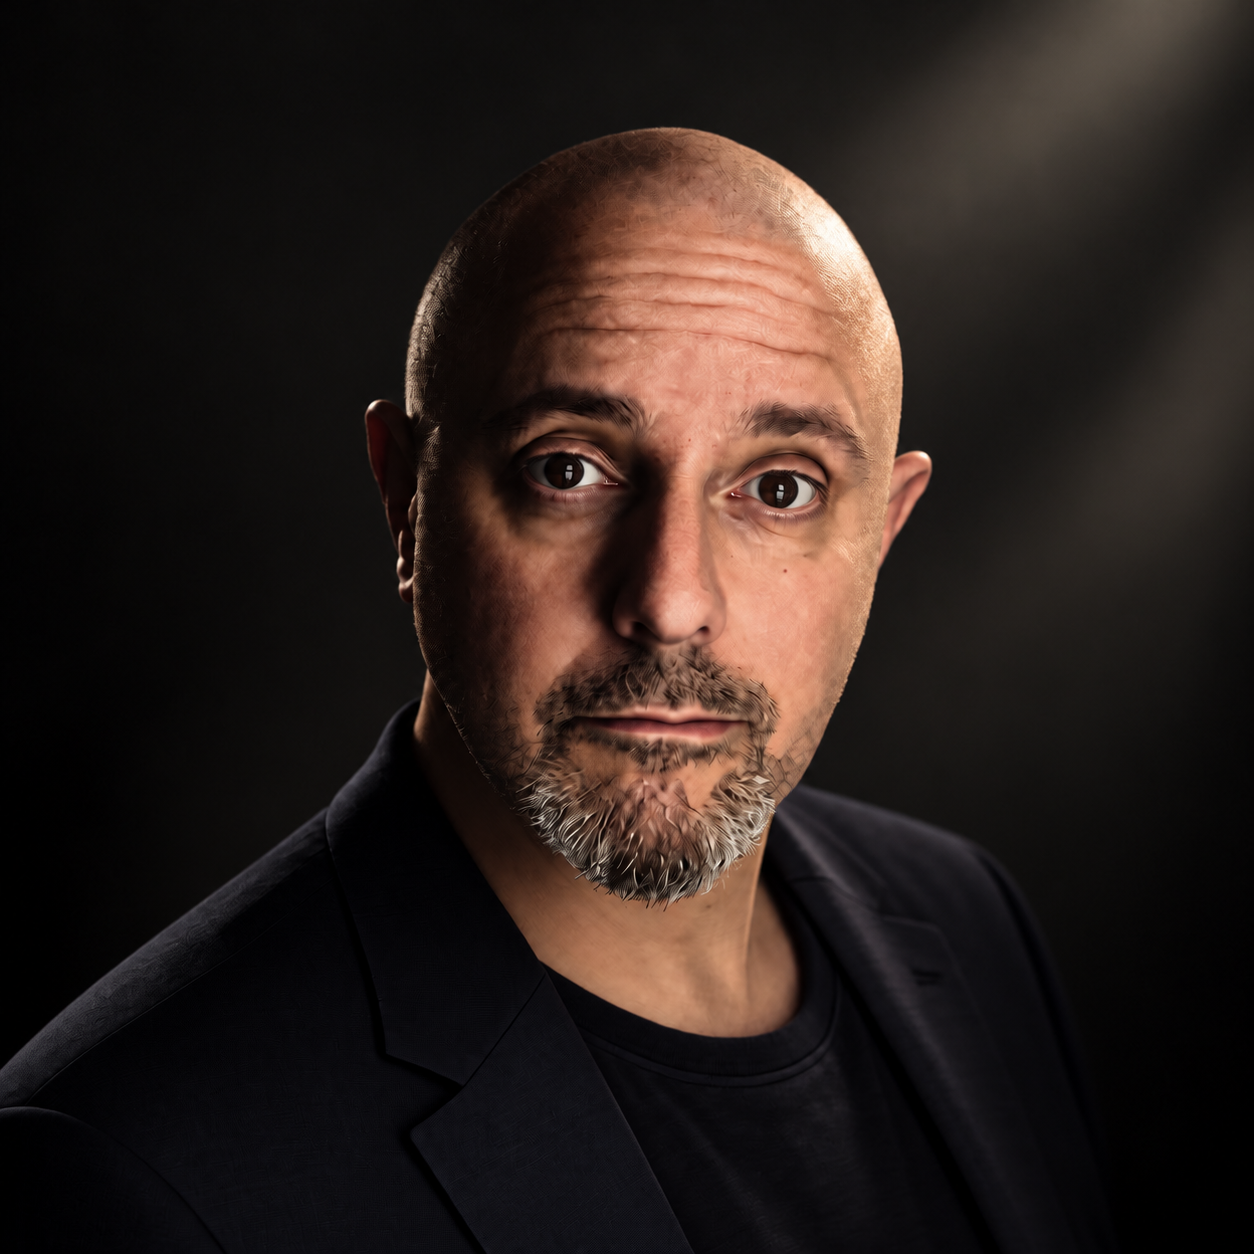
/chiaroscuro
Ein bisschen mehr Drama in der Beleuchtung.
|
|
Vorher | Nachher |
Und es gibt noch so viel mehr!
Die „Shortcuts“ sind im Grunde Stil-Presets, Hier eine umfangreiche Auswahl zum rumspielen, die mir übrigens ChatGPT selbst verraten hat (manchmal ist es so einfach):
/cinematicphoto– hochwertiger Kinofilm-Look, dramatisches Licht, geringe Tiefenschärfe, Film-Grading/painterly– malerisch, sichtbare Pinselstruktur, hochwertiges Öl-/Editorial-Painting/paparazzieditorial– spontanes Celebrity-/Street-Foto, Blitz, Bewegung, luxuriöses Magazin-Feeling/magazinecover– Hochglanz-Cover-Shooting, starke Komposition und Editorial-Licht/zerogravityeditorial– surreales Fashion-/Business-Editorial mit schwebenden Elementen/epicperspective– extreme Perspektive, Weitwinkel, monumentale Größenwirkung/doubleexposureviral– Doppelbelichtung mit zweiter Szene/Silhouette, plakativ und social-tauglich/overheadpetalseditorial– Top-down Editorial mit floralen/organischen Elementen und kunstvoller Komposition/studio– cleanes Premium-Fotostudio, 85-mm-Porträt, perfekte Lichtsetzung/naturalstudio– Studioqualität, aber weniger Hochglanz und deutlich natürlicher/film35mm– analoger 35-mm-Film, Grain, natürliche Farben, leichte Imperfektion/polaroid– authentischer Instant-Film-Look, weiches Licht, leicht ausgewaschen/kodak– warmer analoger Kodak-artiger Foto-Look/noir– Schwarzweiß, hartes Licht, tiefe Schatten, Film-noir/goldenhour– spätes warmes Sonnenlicht, Gegenlicht, schöne Rim-Lights/moody– dunkel, atmosphärisch, entsättigt, cineastisch/dreamy– weiches Licht, Glow, geringe Kontraste, verträumt/luxuryeditorial– High-End-Werbekampagne/Fashion-Magazin ohne billig wirkenden Glamour/streeteditorial– moderne Street-Fashion-Fotografie, urban und etwas rough/documentary– glaubwürdige Reportagefotografie, wenig inszeniert/flashphoto– direkter On-Camera-Flash, Nachtleben/Party/2000er-Editorial/vintage70s– 1970er-Fotografie, warme Töne, Filmkorn, zeittypische Optik/vintage90s– 90er-Snapshot-/Editorial-Ästhetik/y2k– frühe 2000er, Digicam/Flash, leicht trashig aber bewusst gestaltet/oilpainting– klassischer und stärker gemalt als/painterly/watercolor– Aquarell, Papierstruktur, transparente Farbschichten/charcoal– Kohlezeichnung, kräftige Striche, Papiertextur/ink– expressive Tuschezeichnung/graphicnovel– hochwertiges Graphic-Novel-Artwork/animecinematic– detailreiche Anime-Filmästhetik mit cineastischem Licht/makotoshinkai– die von dir zuletzt verwendete leuchtende Anime-Filmästhetik; bei lebenden Künstlern würde ich das als ähnliche Merkmale statt als exakte Stilkopie umsetzen/pixarish– hochwertiger stilisierter 3D-Animationsfilm-Look, ohne eine konkrete Studiohandschrift exakt zu kopieren/clay– handgemachter Claymation-/Stop-Motion-Look/papercut– mehrschichtige Papier-Cutout-Illustration/miniature– Motiv wirkt wie eine extrem detaillierte Miniatur/Diorama/surreal– fotorealistische Ausgangsbasis plus unerwartete surreale Elemente/cyberpunk– Neon, Nacht, Regen, cineastische Sci-Fi-Stadtästhetik/retrofuture– Zukunftsvision aus Sicht vergangener Jahrzehnte/brutalist– streng, monumental, Beton/Architektur/harte Geometrie/cleanbackground– Motiv unverändert lassen, Hintergrund hochwertig vereinfachen/backgroundblur– Motiv erhalten, Hintergrund stark und natürlich freistellen/blurrieren/headshot– aus einem normalen Foto ein professionelles Profil-/LinkedIn-Porträt machen/beautyclean– Haut/Fell/Oberflächen subtil säubern, ohne Identität und Charakter glattzubügeln/restore– altes oder beschädigtes Foto restaurieren/colorize– Schwarzweißfoto plausibel kolorieren/upscale– Details und wahrgenommene Bildqualität verbessern, Motiv möglichst strikt bewahren/removebg– Hintergrund entfernen/neutralisieren/removeobject– störende Gegenstände entfernen/reframe– Ausschnitt/Seitenverhältnis ändern und fehlende Umgebung plausibel ergänzen
Speziell für Licht und Kontraste
/chiaroscuro– dramatischer Hell-Dunkel-Kontrast, sehr charaktervoll/rembrandtlight– etwas klassischer und natürlicher; eine Gesichtshälfte dominant beleuchtet, charakteristisches Lichtdreieck auf der Schattenseite/splitlight– kompromissloser: eine Gesichtshälfte hell, die andere fast schwarz/lowkey– insgesamt dunkel, Gesicht kommt aus der Dunkelheit heraus/hardlight– hartes gerichtetes Licht, scharfe Schatten, stärker Fashion/Editorial
Und kombinieren könnten wir sie ebenfalls: /cinematicphoto /goldenhour /film35mm wäre dann beispielsweise „fotorealistisch + Kino + goldenes Gegenlicht + analoger Filmcharakter“.
Beauty
ein ganz kleines bisschen Schummeln ist ja wohl erlaubt.
/beautyclean– professionelle, subtile Retusche; Haut bleibt Haut./beautyfilter– deutlich glatter, Instagram/Beauty-Creator-Look./airbrushed– richtig kompromisslos glatt und makellos, fast Kampagnen-/Kosmetikwerbung.
Darstellung von Produkten und Objekten
Das ganze geht natürlich auch mit Produkten oder Gegenständen oder Objekten. Dafür gibt es eine ganz eigene Liste von Commands. Das werde ich euch in meinem nächsten Post demonstrieren. Hier schon mal einen Vorgeschmack mit einem wirklich mies geschossenen Ausgangsbild.
/productshot /preserve
|
|
Vorher | Nachher |
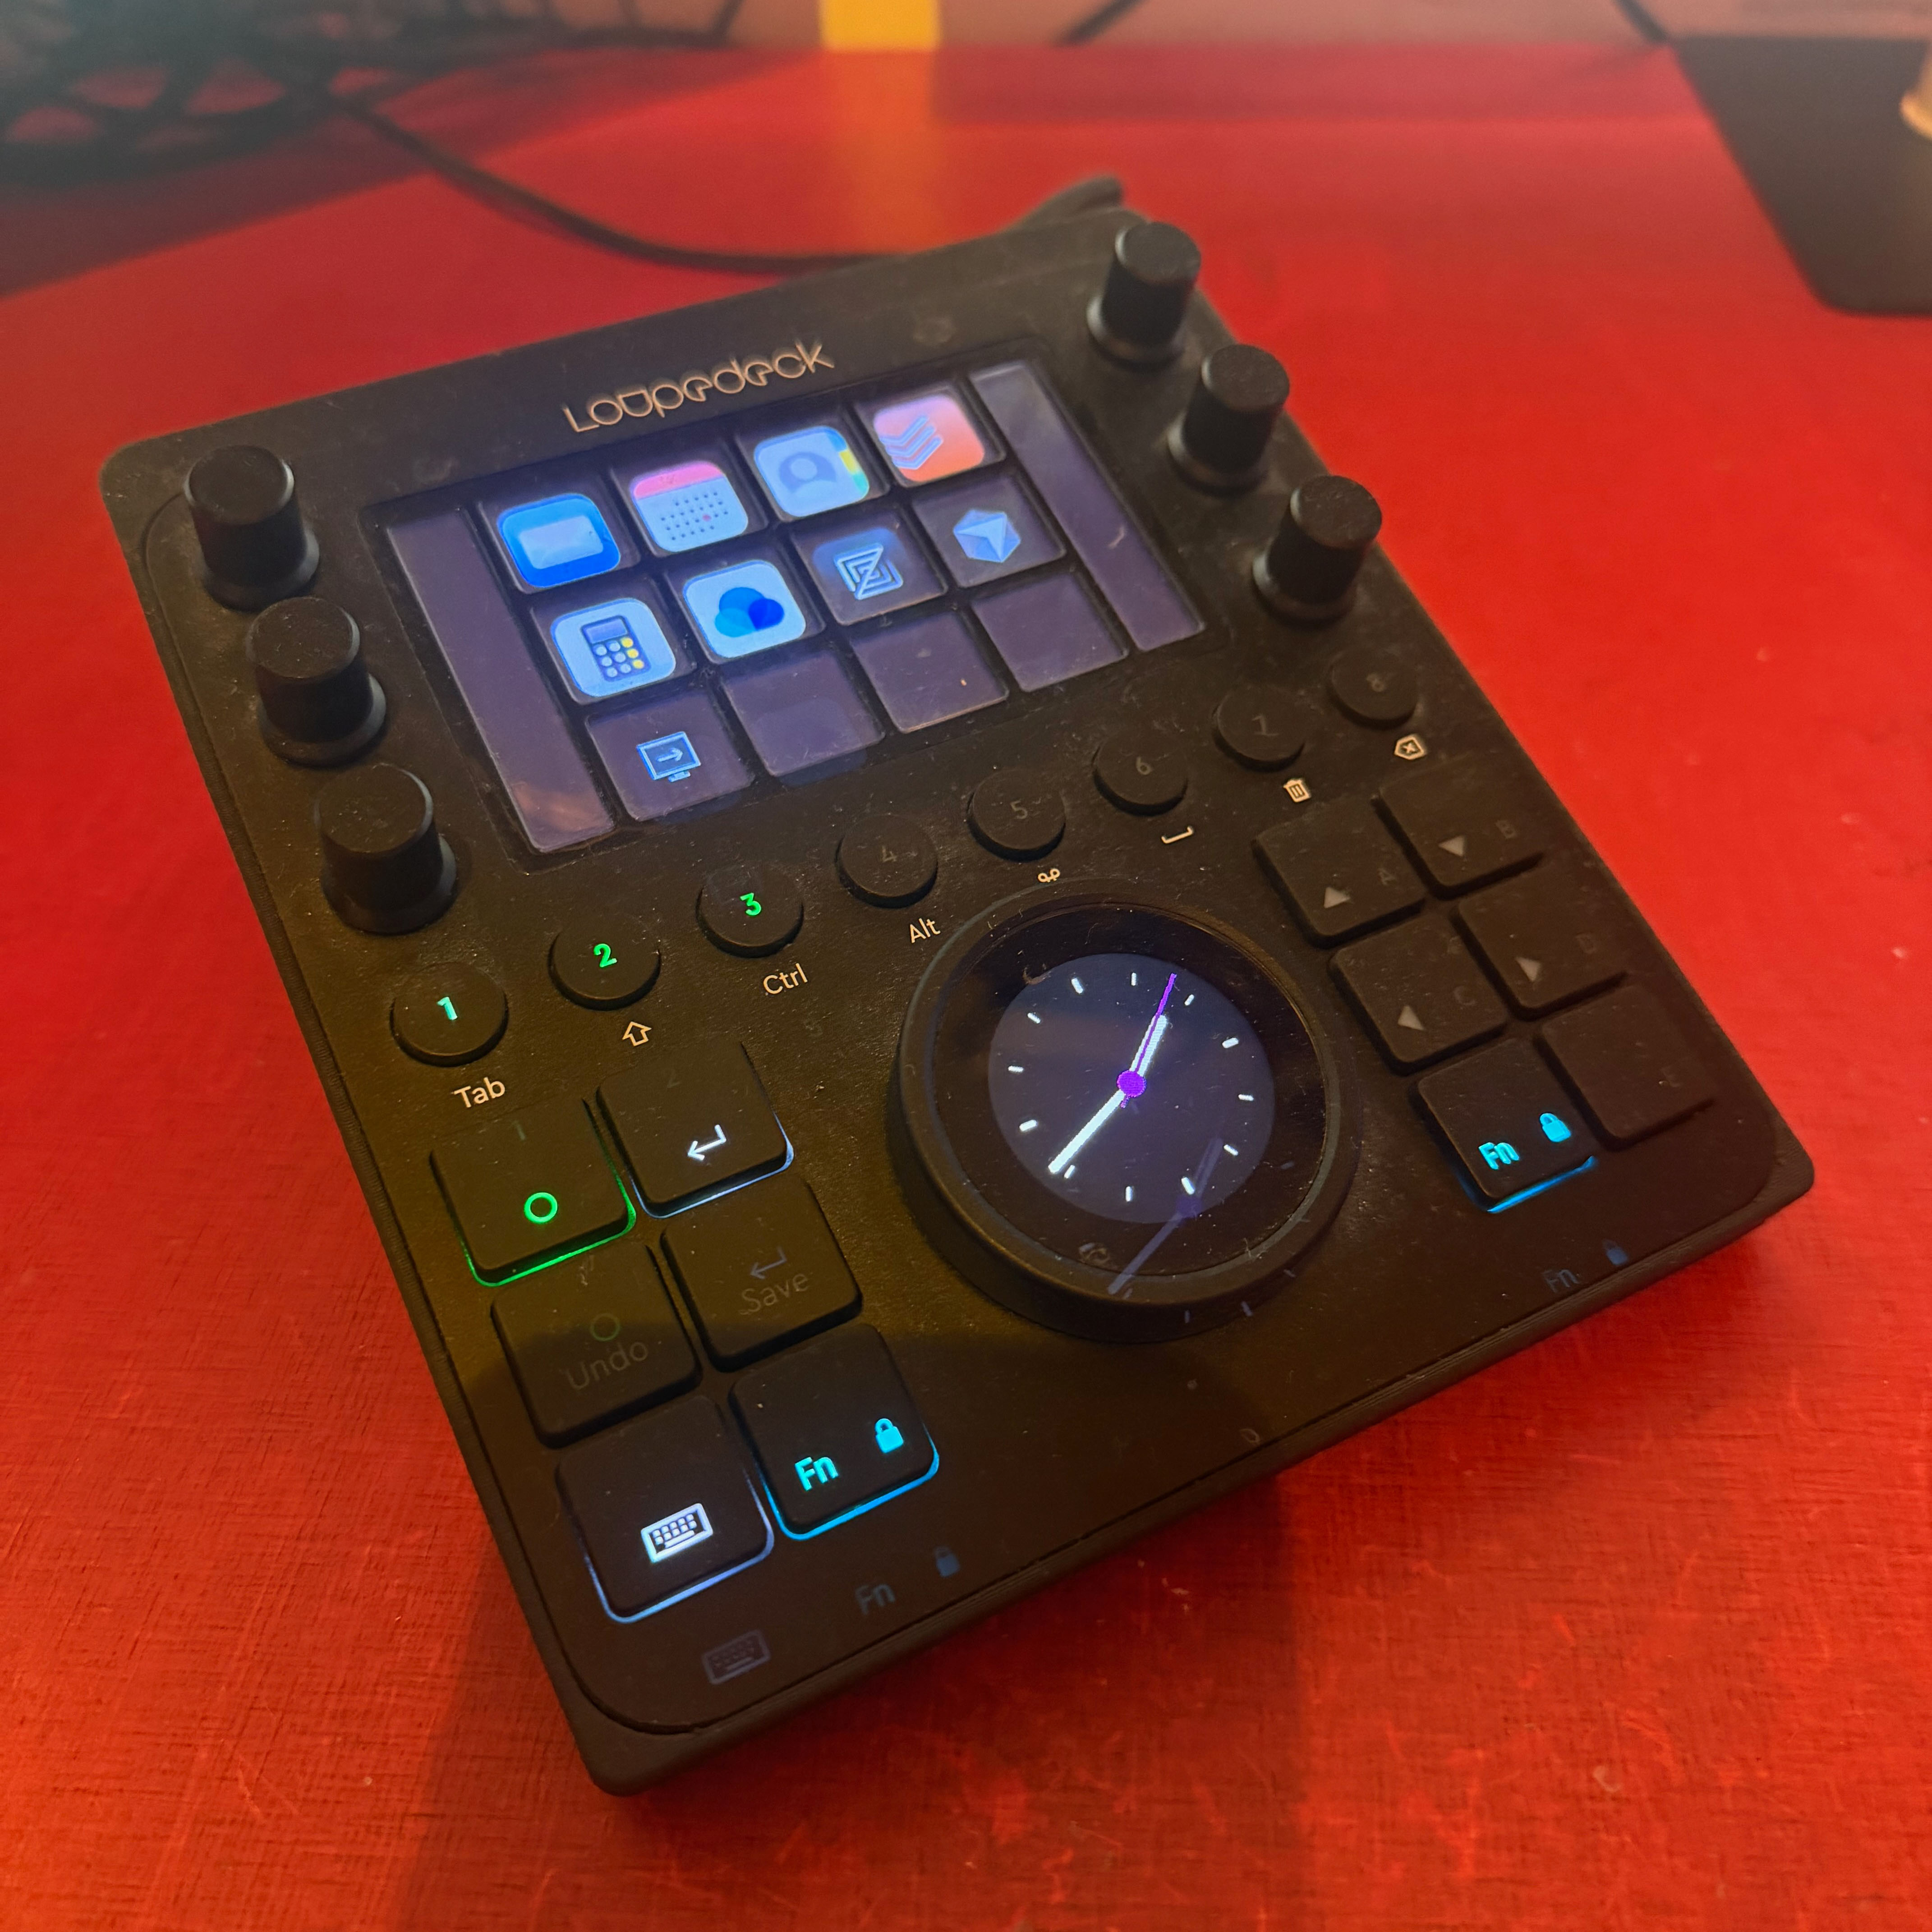
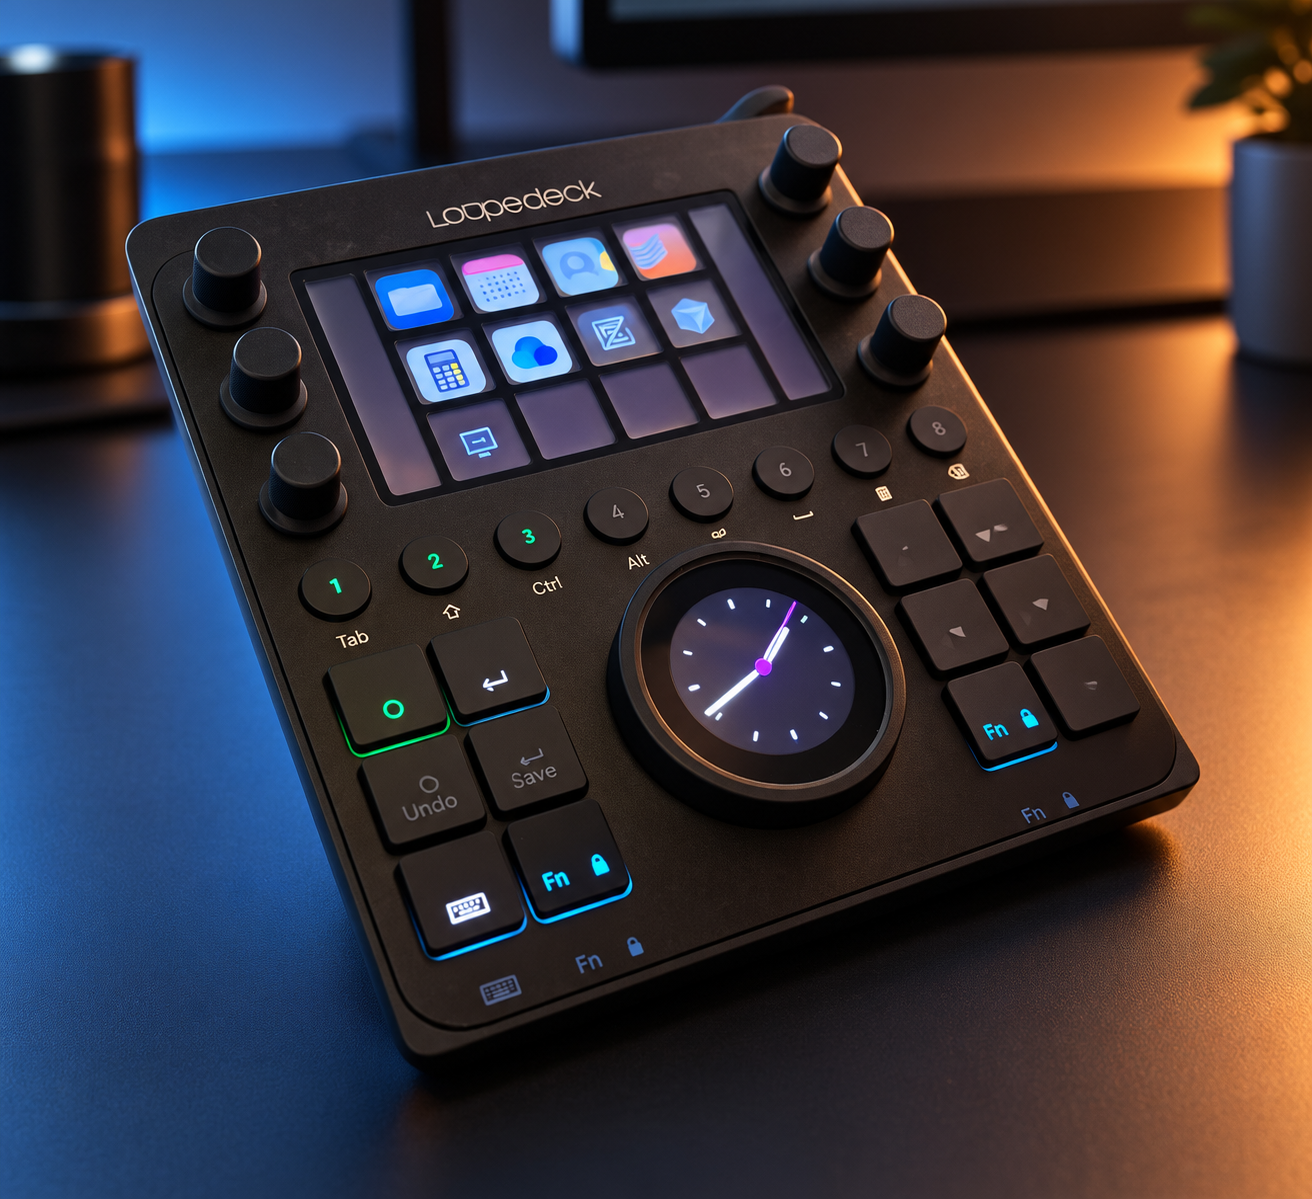
Aber zu Objekten und Produktfotografien werde ich noch mal einen eigenen kleinen Beitrag machen. Stay tuned!